Essential Equipment for Home Sound Processing
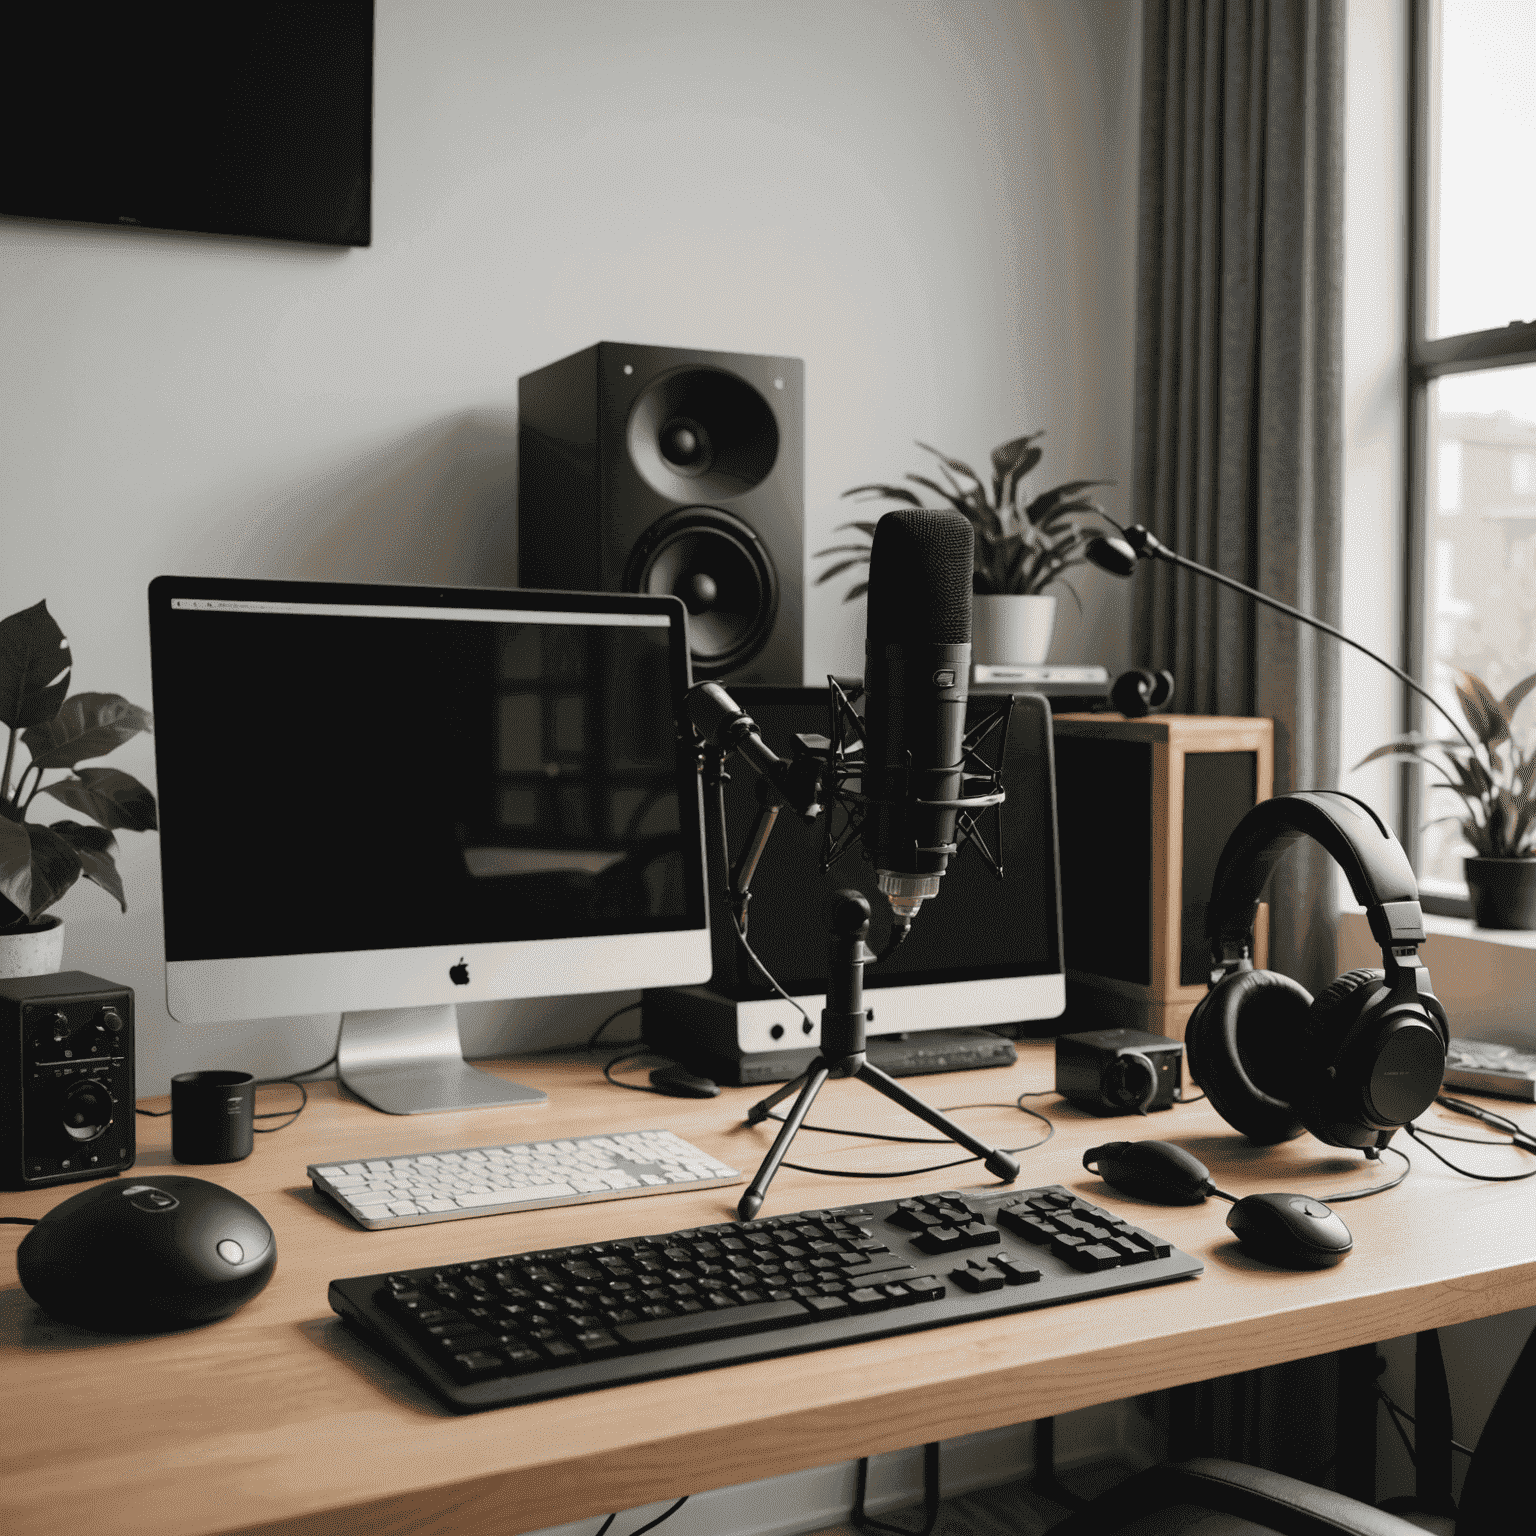
Setting up your home sound processing studio doesn't have to be complicated or expensive. With the right essential equipment, you can create professional-quality audio from the comfort of your home.
Understanding Your Sound Processing Needs
Before investing in equipment, consider what you'll be using your setup for: recording vocals, instruments, podcasting, or creating music. Your specific needs will guide your equipment choices and budget allocation.
Essential Equipment Checklist
1. Quality Microphones
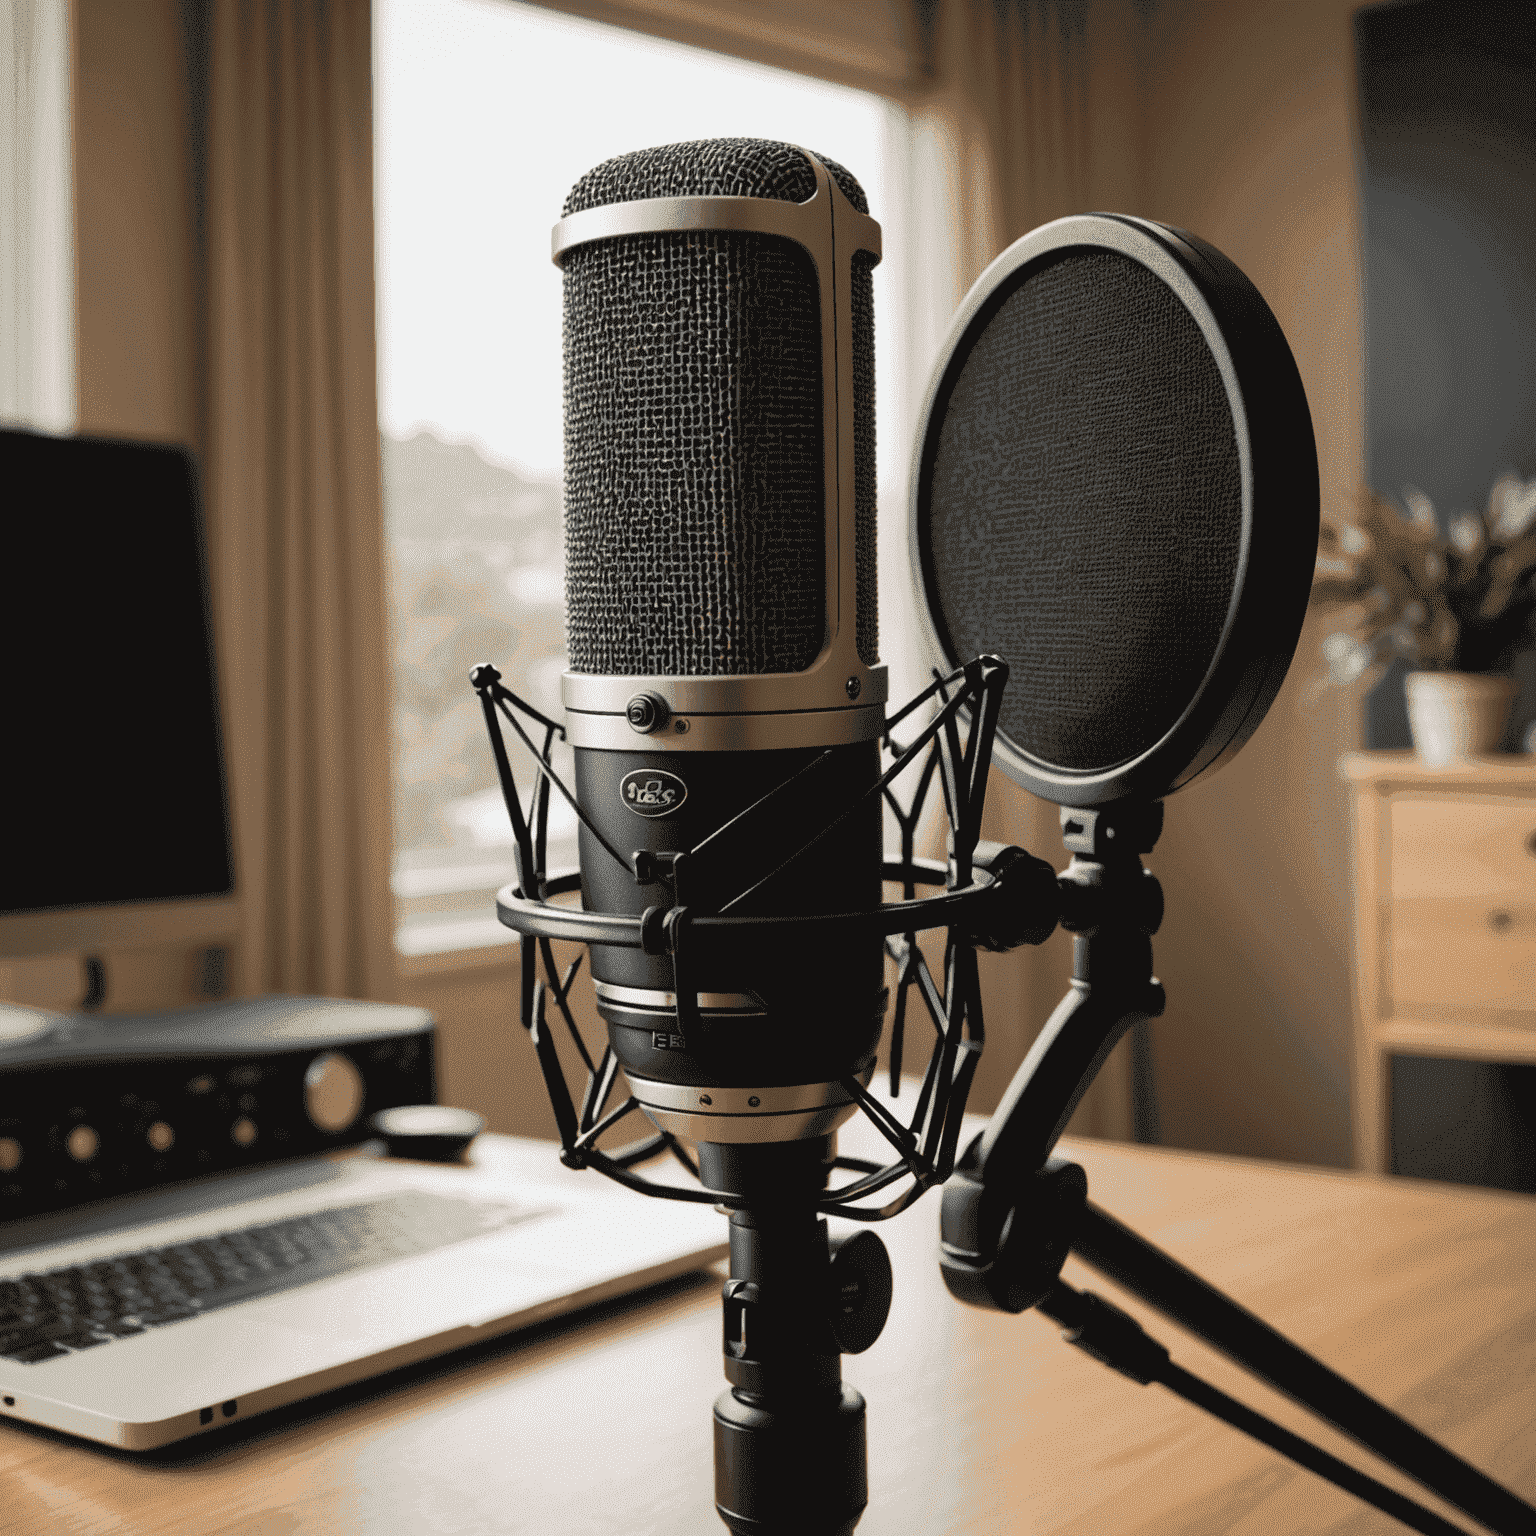
Microphones are the foundation of any sound processing setup. Consider these options:
- Dynamic Microphones: Durable and versatile, ideal for loud sound sources and live recording.
- Condenser Microphones: More sensitive with wider frequency response, perfect for vocals and acoustic instruments.
- USB Microphones: Budget-friendly option that connects directly to your computer without an interface.
For beginners, a quality USB condenser microphone offers excellent value while you build your setup.
2. Audio Interface
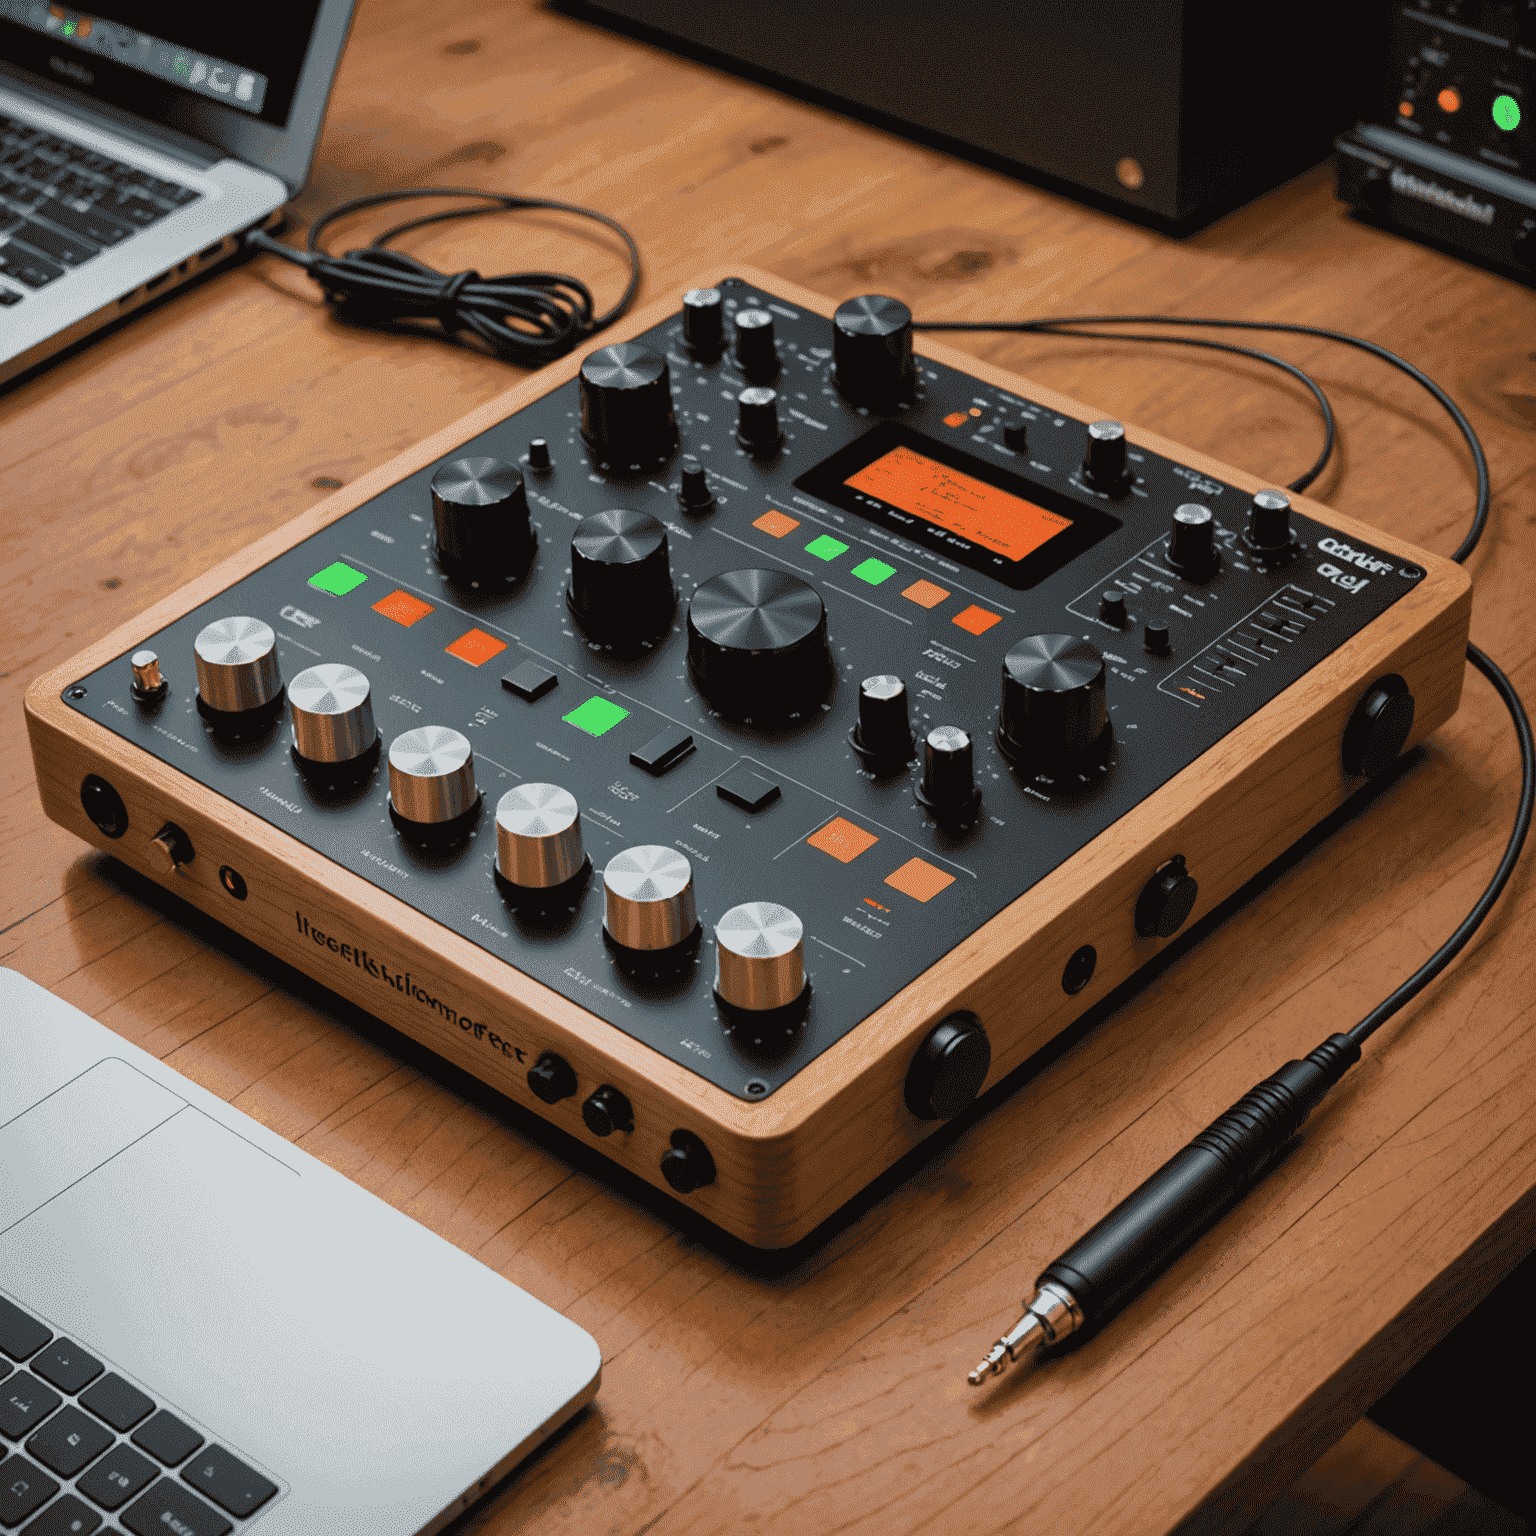
An audio interface converts analog signals from your microphone into digital data your computer can process. Key features to consider:
- Input/Output Options: Consider how many microphones or instruments you'll connect simultaneously.
- Preamp Quality: Better preamps provide cleaner sound with less noise.
- Connectivity: Most interfaces connect via USB, but Thunderbolt options offer lower latency.
- Sample Rate and Bit Depth: 24-bit/96kHz capability is standard for quality recording.
3. Quality Headphones
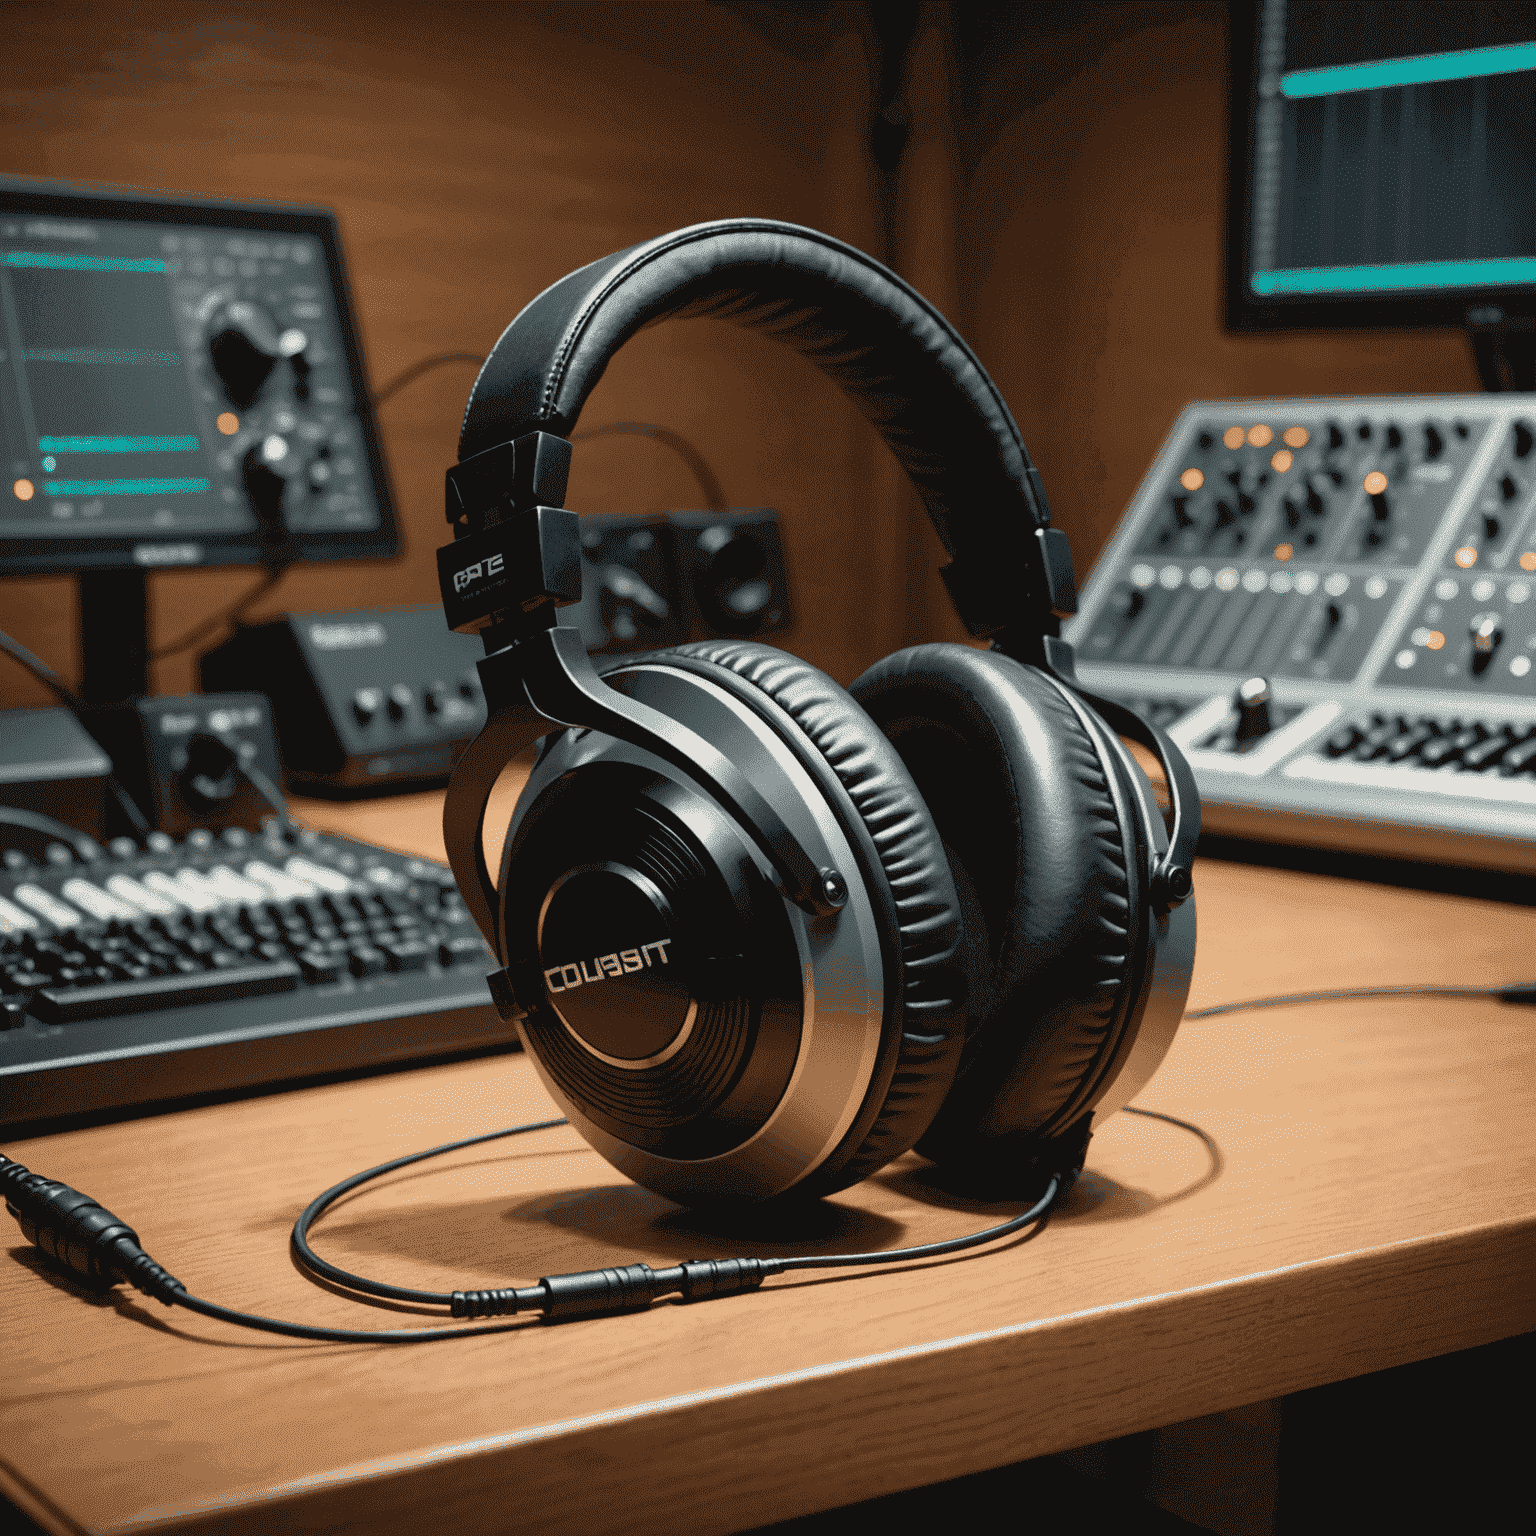
Proper headphones are crucial for monitoring during recording and mixing. There are two main types:
- Closed-Back Headphones: Ideal for recording as they prevent sound leakage into microphones.
- Open-Back Headphones: Provide a more natural sound representation, better for mixing and mastering.
Look for headphones with a flat frequency response to hear your audio accurately without artificial bass boost or treble enhancement.
4. Studio Monitors
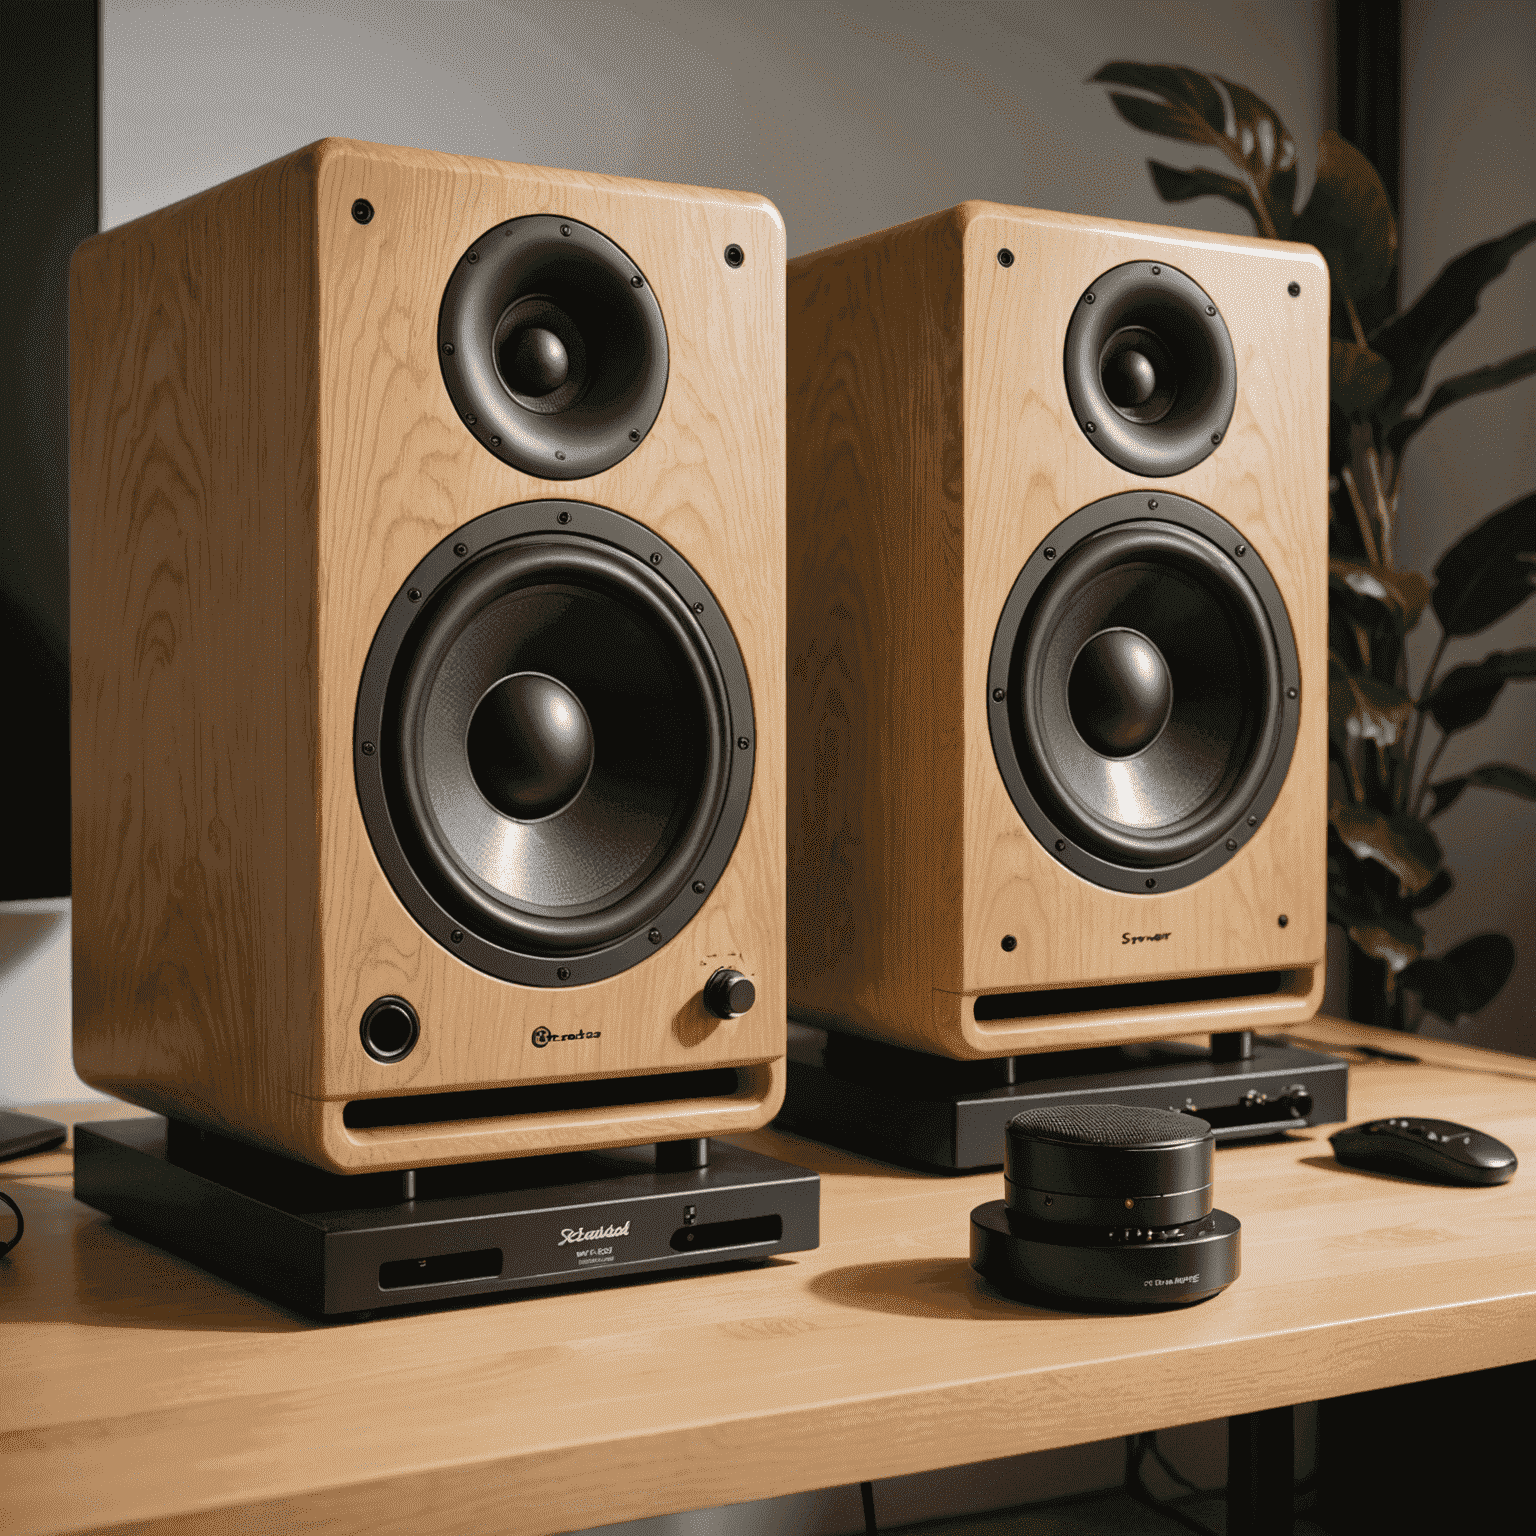
While not essential for beginners, studio monitors provide accurate sound reproduction for mixing and mastering:
- Near-field Monitors: Designed for close listening in smaller spaces.
- Active vs. Passive: Active monitors have built-in amplifiers and are easier to set up.
- Size: 5" or 8" woofers are suitable for most home studios.
Consider acoustic treatment for your room to get the most accurate sound from your monitors.
5. Digital Audio Workstation (DAW)
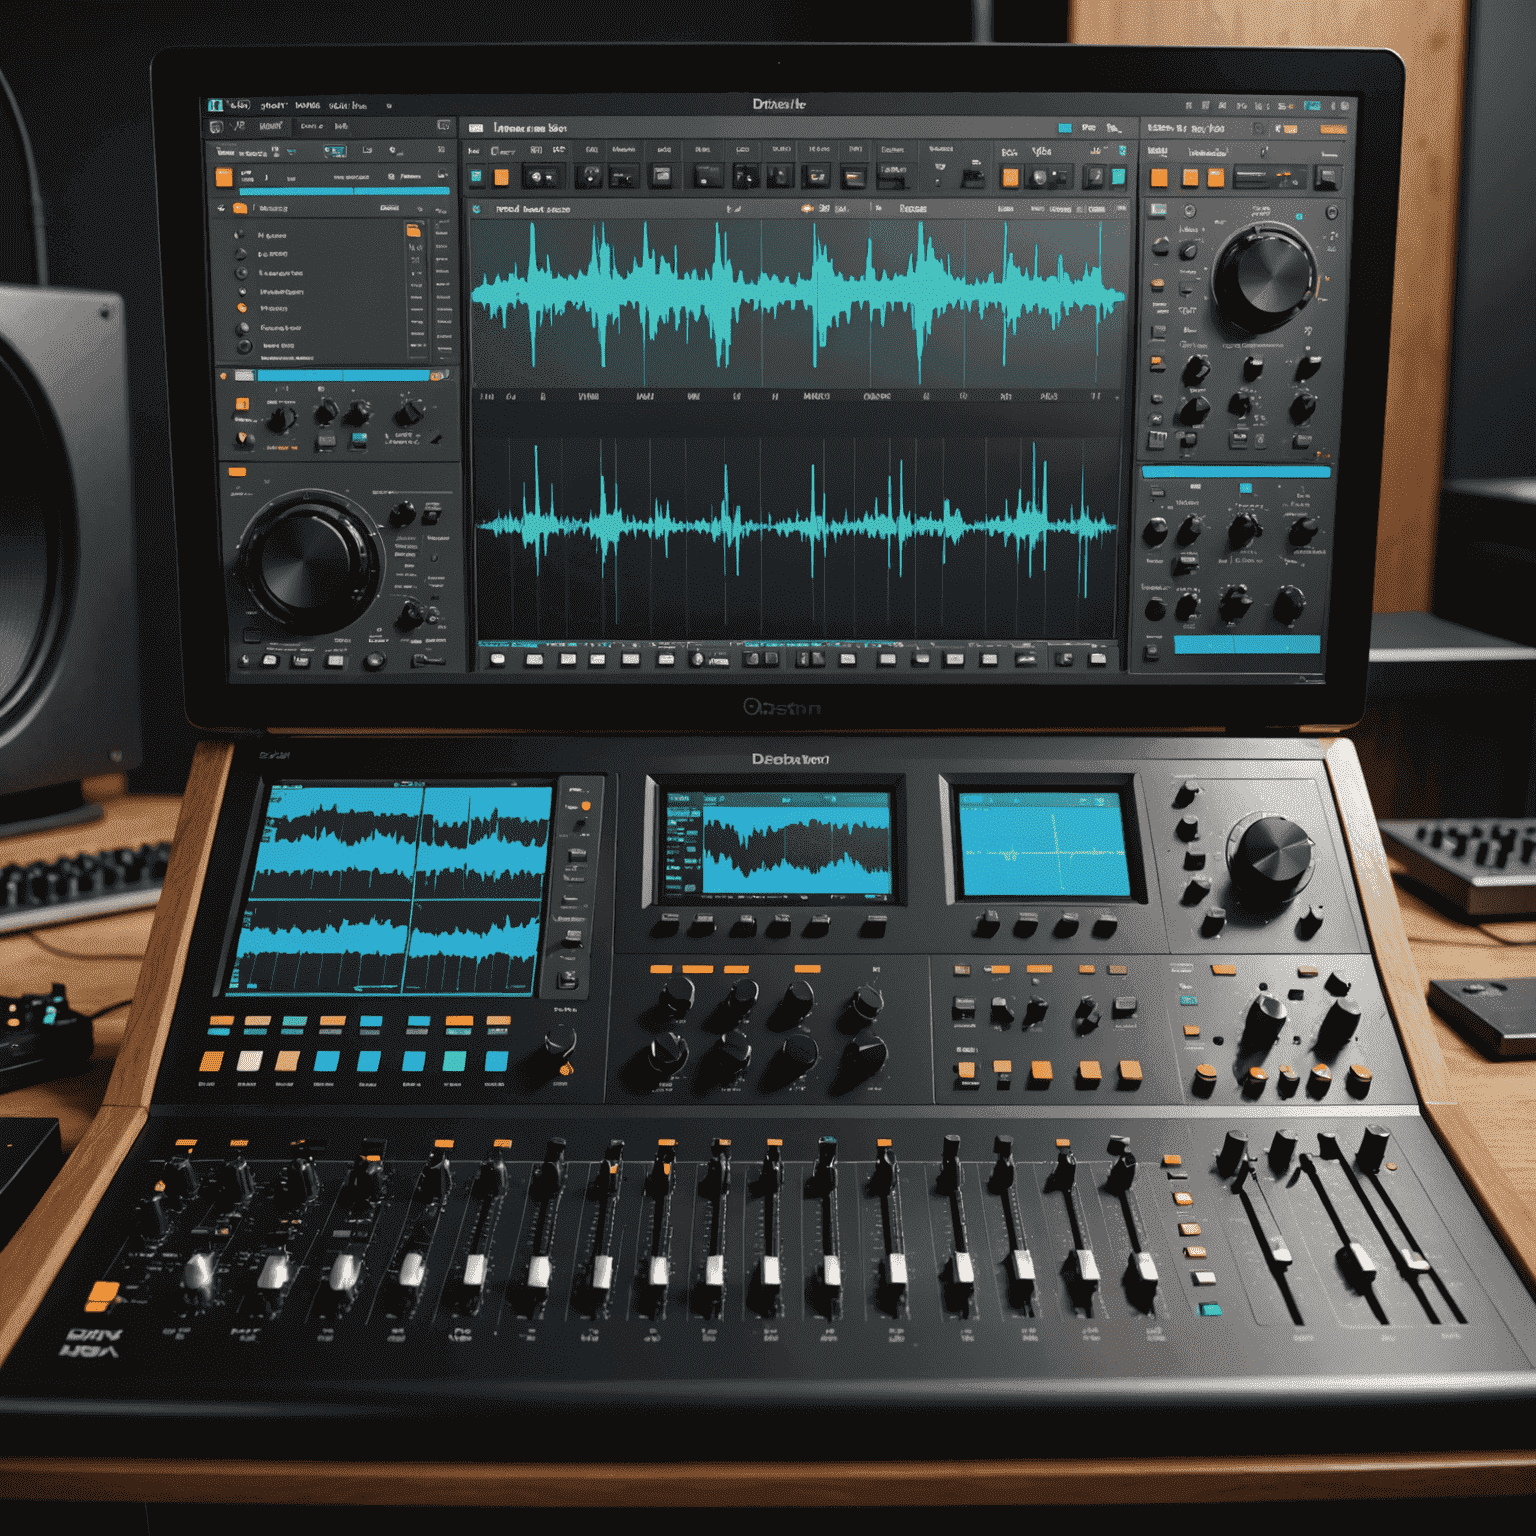
Your DAW is the software where you'll record, edit, mix, and process your audio. Popular options include:
- Beginner-Friendly: GarageBand (Mac), Audacity (complimentary), Reaper (affordable)
- Industry Standards: Pro Tools, Logic Pro, Ableton Live, FL Studio
- Specialized: Adobe Audition (audio editing), Cubase (MIDI composition)
Many DAWs offer complimentary trials or lite versions, so you can experiment before committing.
6. Accessories and Extras
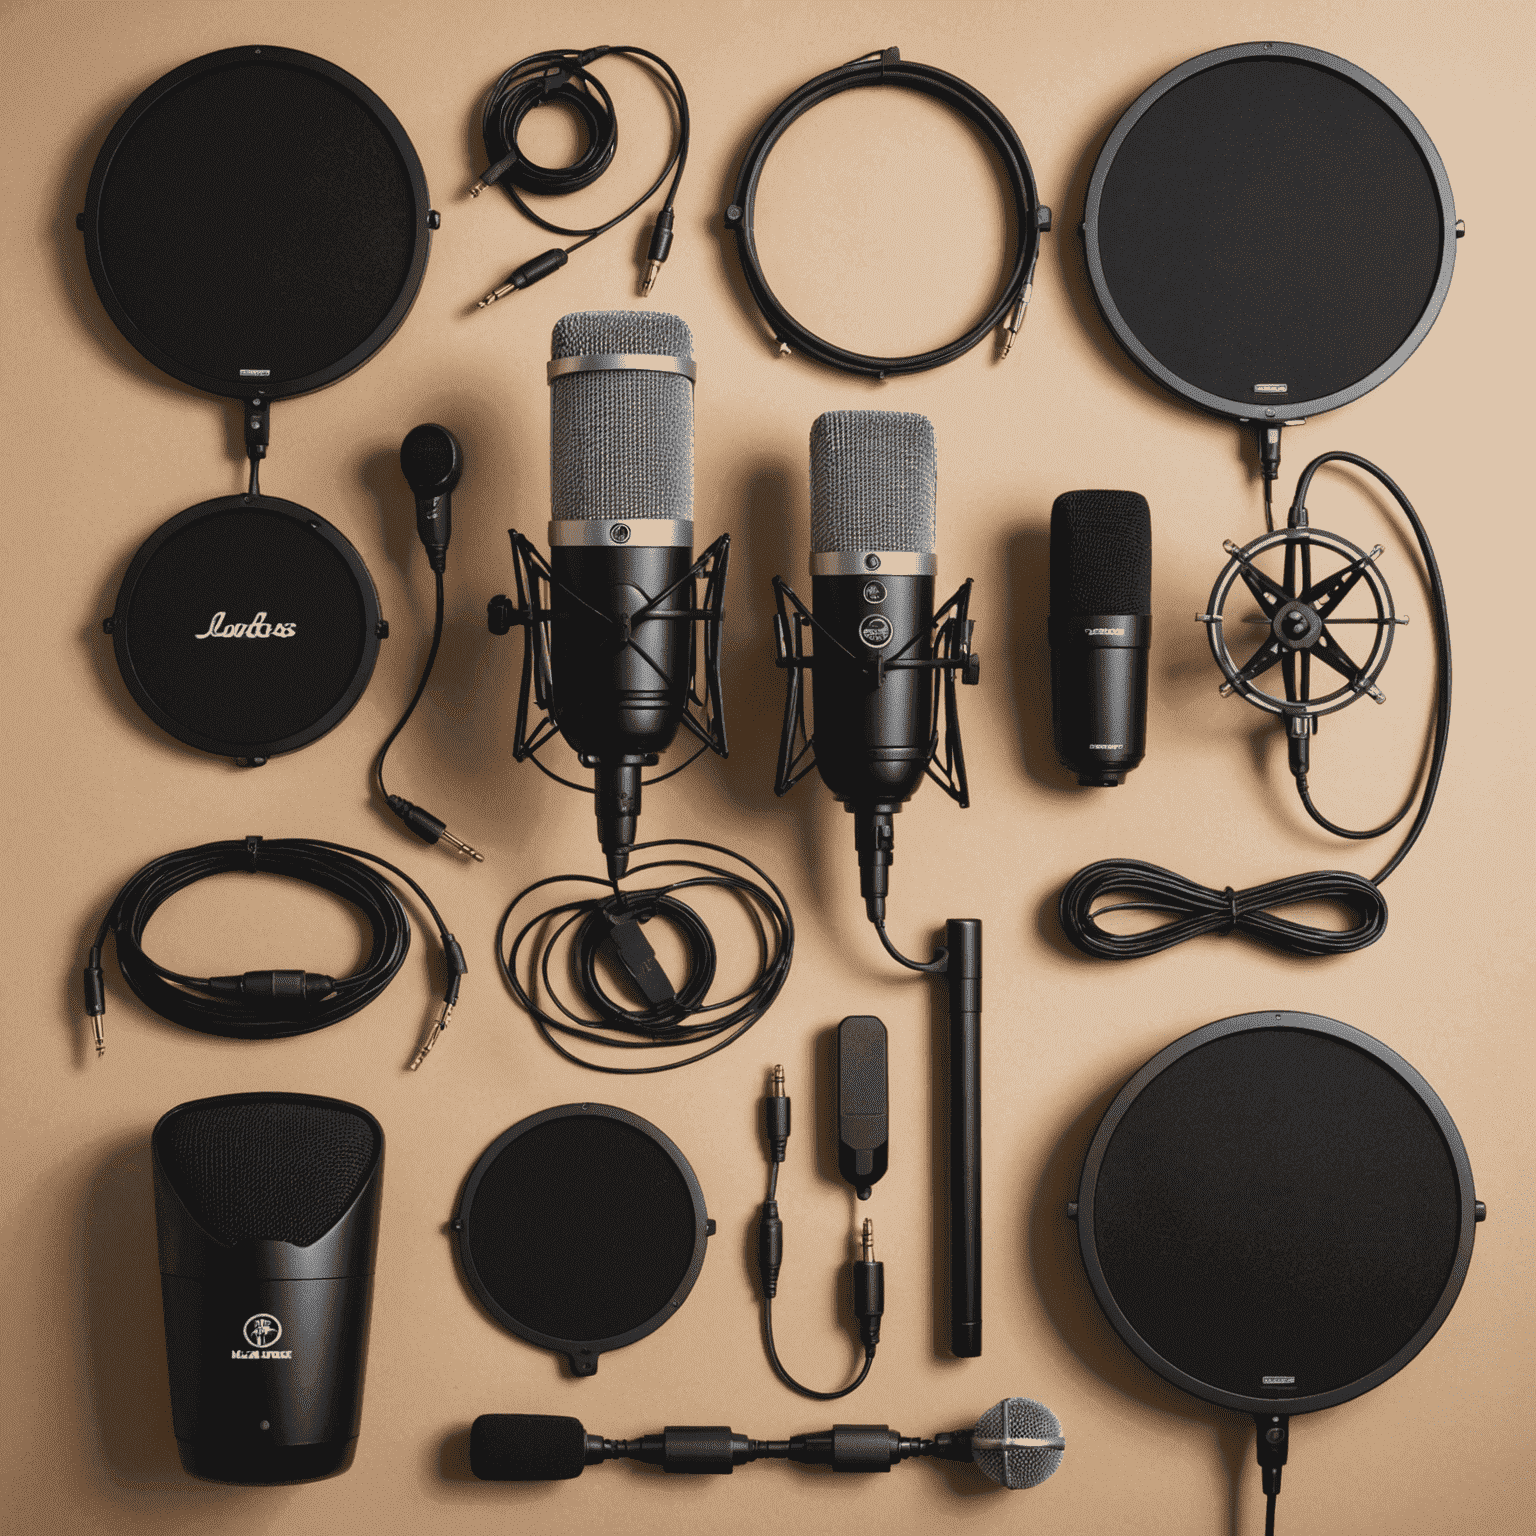
These additional items enhance your recording quality and workflow:
- Pop Filter: Reduces plosive sounds when recording vocals.
- Microphone Stand: Provides stable positioning for your microphone.
- Shock Mount: Isolates microphone from vibrations.
- Acoustic Treatment: Foam panels or bass traps to improve room acoustics.
- Quality Cables: Balanced XLR cables for clean signal transmission.
- MIDI Controller: For creating and controlling virtual instruments.
Building Your Setup Gradually
You don't need to purchase everything at once. Start with these essentials:
- A quality microphone and audio interface (or USB microphone)
- Closed-back headphones
- DAW software
- Basic accessories (pop filter, stand)
As you develop your skills and identify specific needs, you can expand your setup with monitors, acoustic treatment, and specialized equipment.
Optimizing Your Workspace
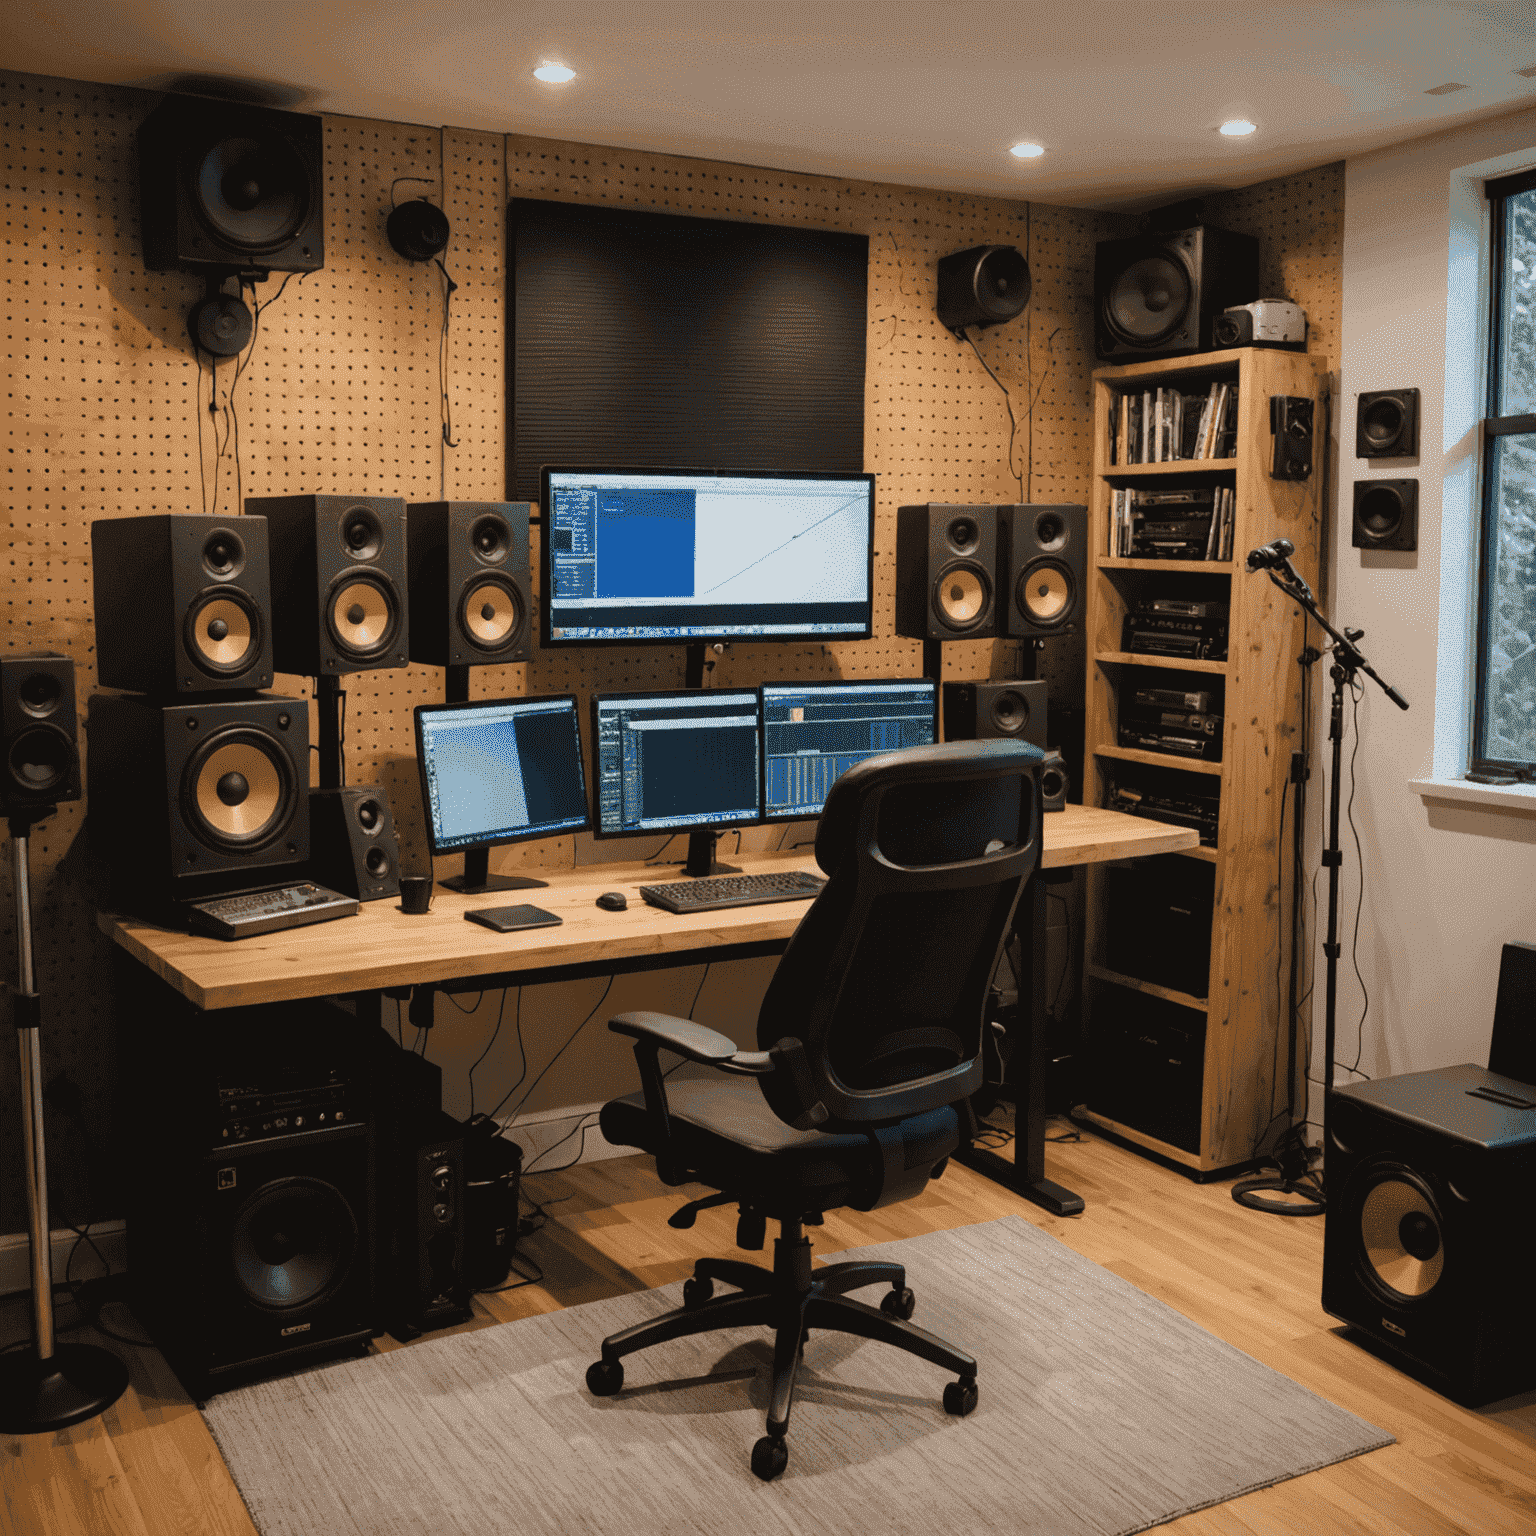
Your physical space affects your sound quality. Consider these factors:
- Room Acoustics: Choose a quiet room with minimal outside noise. Carpets, curtains, and furniture can help reduce reflections.
- Equipment Placement: Position monitors at ear level in an equilateral triangle with your listening position.
- Cable Management: Organize cables to prevent interference and tripping hazards.
- Ergonomics: Set up your workspace to be comfortable for long sessions.
Software and Digital Tools
Beyond your DAW, these digital tools can enhance your sound processing capabilities:
- Plugins: Virtual effects and instruments that expand your DAW's capabilities.
- Sample Libraries: Collections of pre-recorded sounds and instruments.
- Streaming Integration: Tools that help you connect your productions to platforms like Spotify.
- Backup Solutions: Regular backups prevent losing your work to technical failures.
Many complimentary and affordable options exist for beginners before investing in premium tools.
Conclusion
Building a home sound processing setup is an investment in your creative journey. Start with the essentials, learn to use them well, and expand as your skills and needs grow. Remember that technique and ear training are just as important as equipment—the best gear won't compensate for undeveloped skills.
With the right tools and dedication to learning, you can create professional-quality audio from the comfort of your home studio.