Setting Up Your Home Recording Space
Creating an effective home recording space is about more than just collecting equipment. The way you set up and treat your room can dramatically impact your sound quality and workflow efficiency. Here's how to optimize your home studio for professional results.
Choosing the Right Room
Before adding any equipment or acoustic treatment, selecting the right space is crucial:
- Avoid perfectly square rooms which create problematic standing waves
- Choose a room with minimal outside noise (away from streets, HVAC systems)
- Consider ceiling height—higher ceilings generally provide better acoustics
- Carpeted rooms offer some natural sound absorption
- Larger rooms typically provide more natural reverb control
Acoustic Treatment Essentials
Proper acoustic treatment makes the difference between amateur and professional sound. Focus on:
- Bass traps in corners to manage low frequencies
- Acoustic panels at first reflection points
- Diffusers on rear walls to prevent flutter echo
- Ceiling treatment for vertical reflections
First Reflection Points
Identifying and treating first reflection points is critical for clear monitoring:
- Sit in your mixing position and have someone move a mirror along the side walls
- When you can see your monitors in the mirror, mark that spot
- Place acoustic panels at these points to absorb early reflections
- Don't forget ceiling reflection points directly above your listening position
DIY vs. Commercial Solutions
DIY Acoustic Treatment
- Rockwool or Owens Corning 703/705 insulation panels
- Wooden frames with fabric covering
- Cost-effective for large spaces
- Customizable to your exact room dimensions
Commercial Solutions
- Pre-made acoustic panels (Auralex, Primacoustic, GIK)
- Portable isolation shields for microphones
- Professional appearance
- Consistent performance specifications
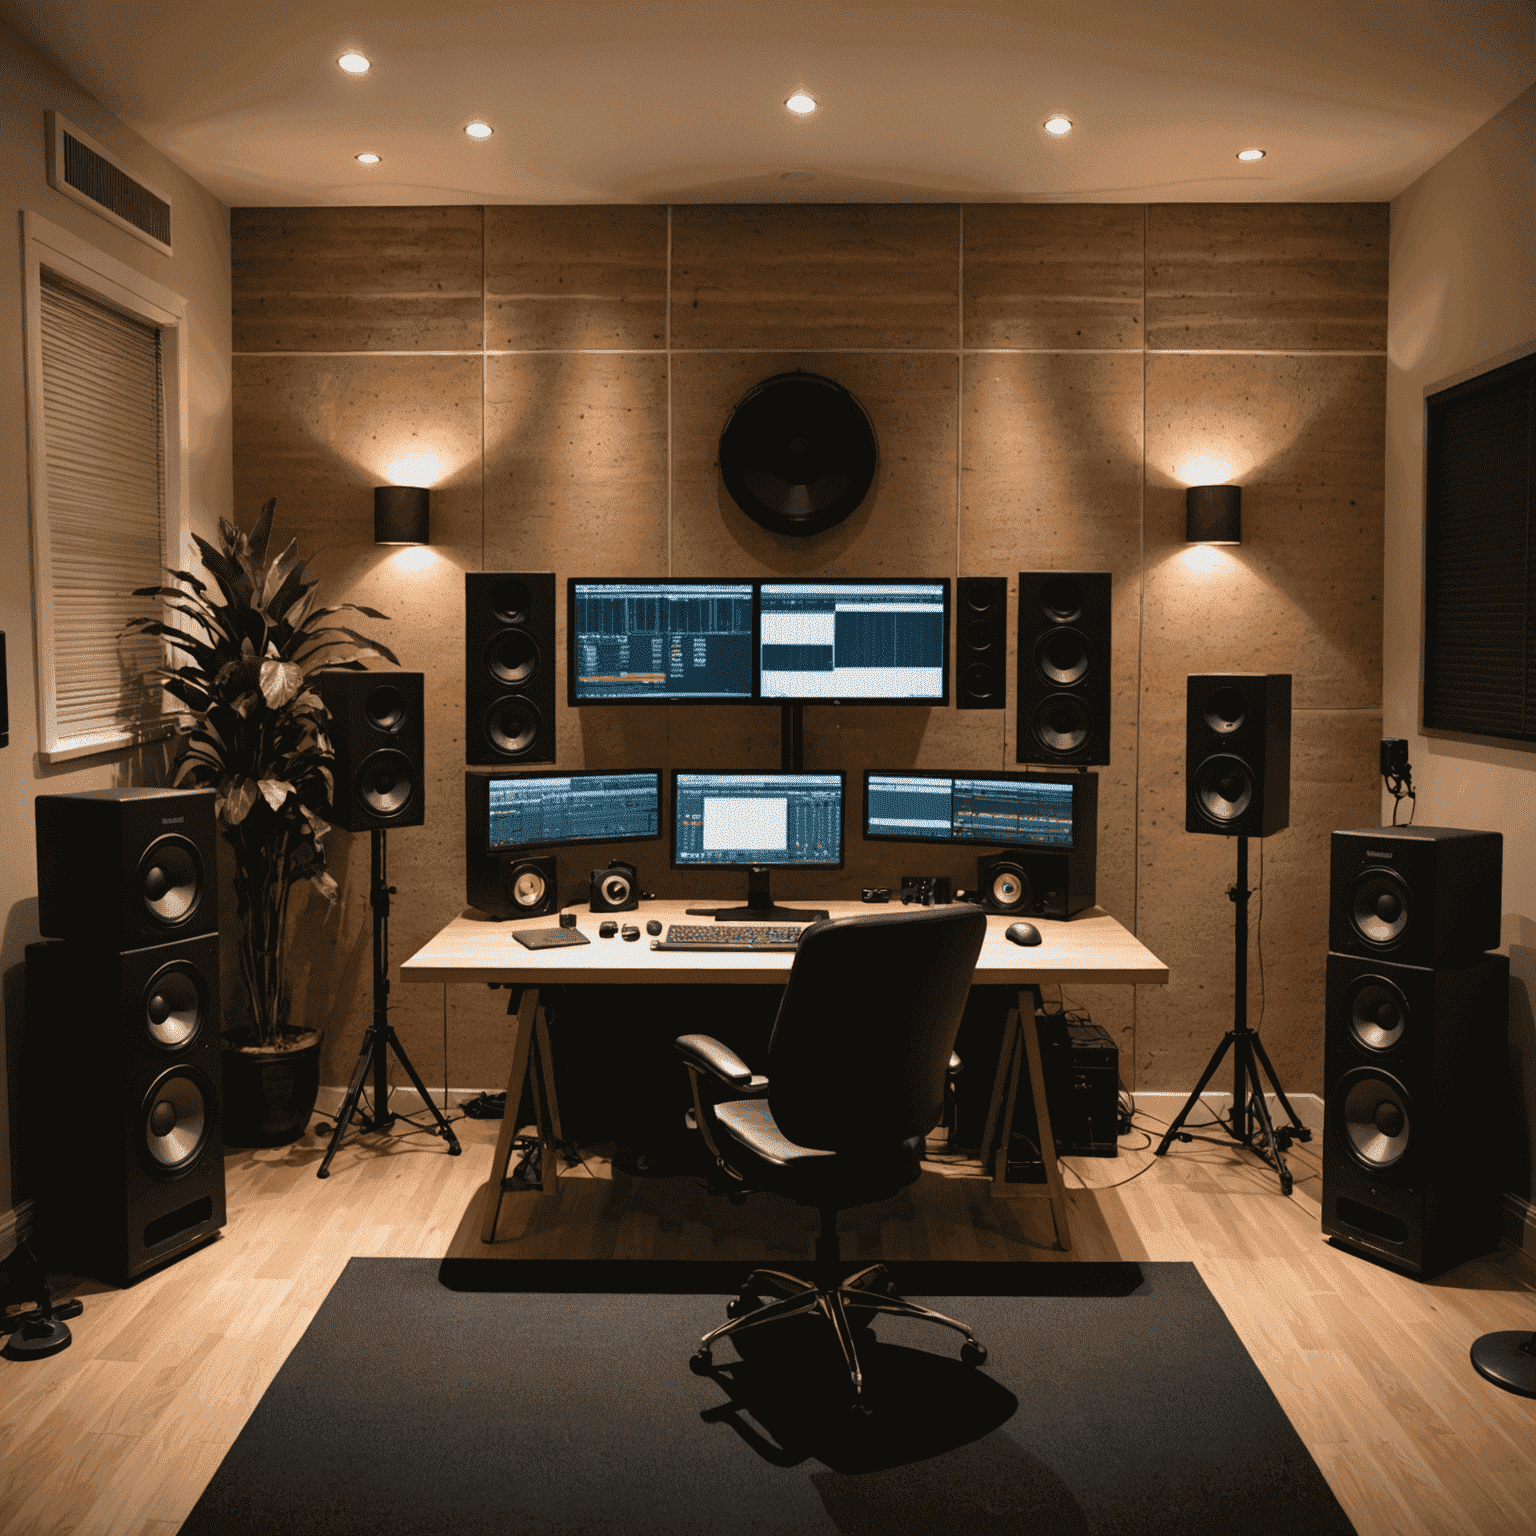
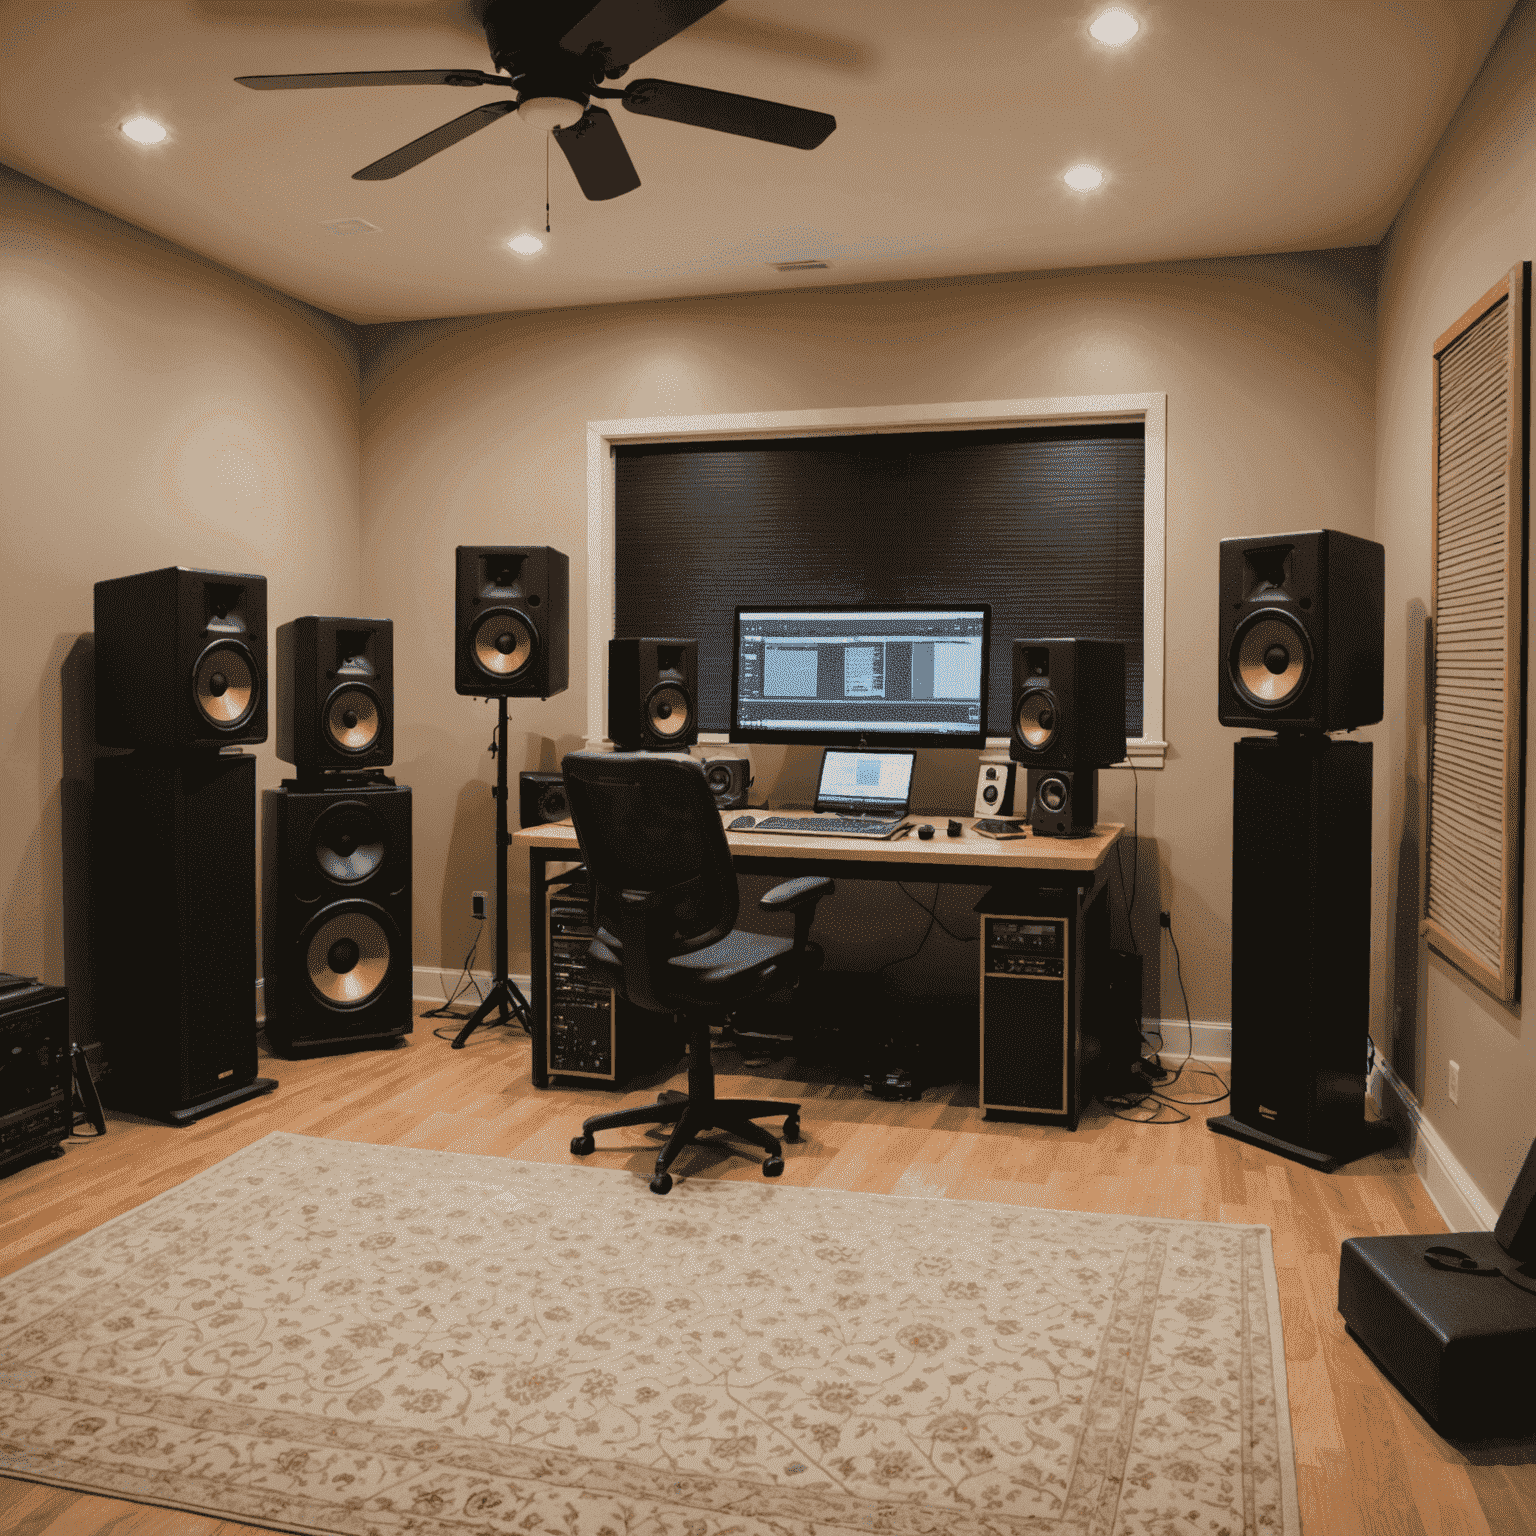
Monitor Placement and Room Layout
Proper speaker positioning is essential for accurate monitoring:
- Position monitors to form an equilateral triangle with your listening position
- Tweeters should be at ear level when seated
- Keep monitors away from walls (especially corners) when possible
- Use isolation pads under monitors to prevent desk resonance
- Consider the 38% rule: place your listening position 38% of the way into the room from the wall behind you for optimal bass response
Cable Management and Organization
A tidy studio is an efficient studio:
- Label all cables at both ends
- Use cable ties or Velcro straps to bundle related cables
- Consider cable raceways for permanent installations
- Create dedicated storage for microphones, headphones, and accessories
- Implement a patch bay for frequently changed connections
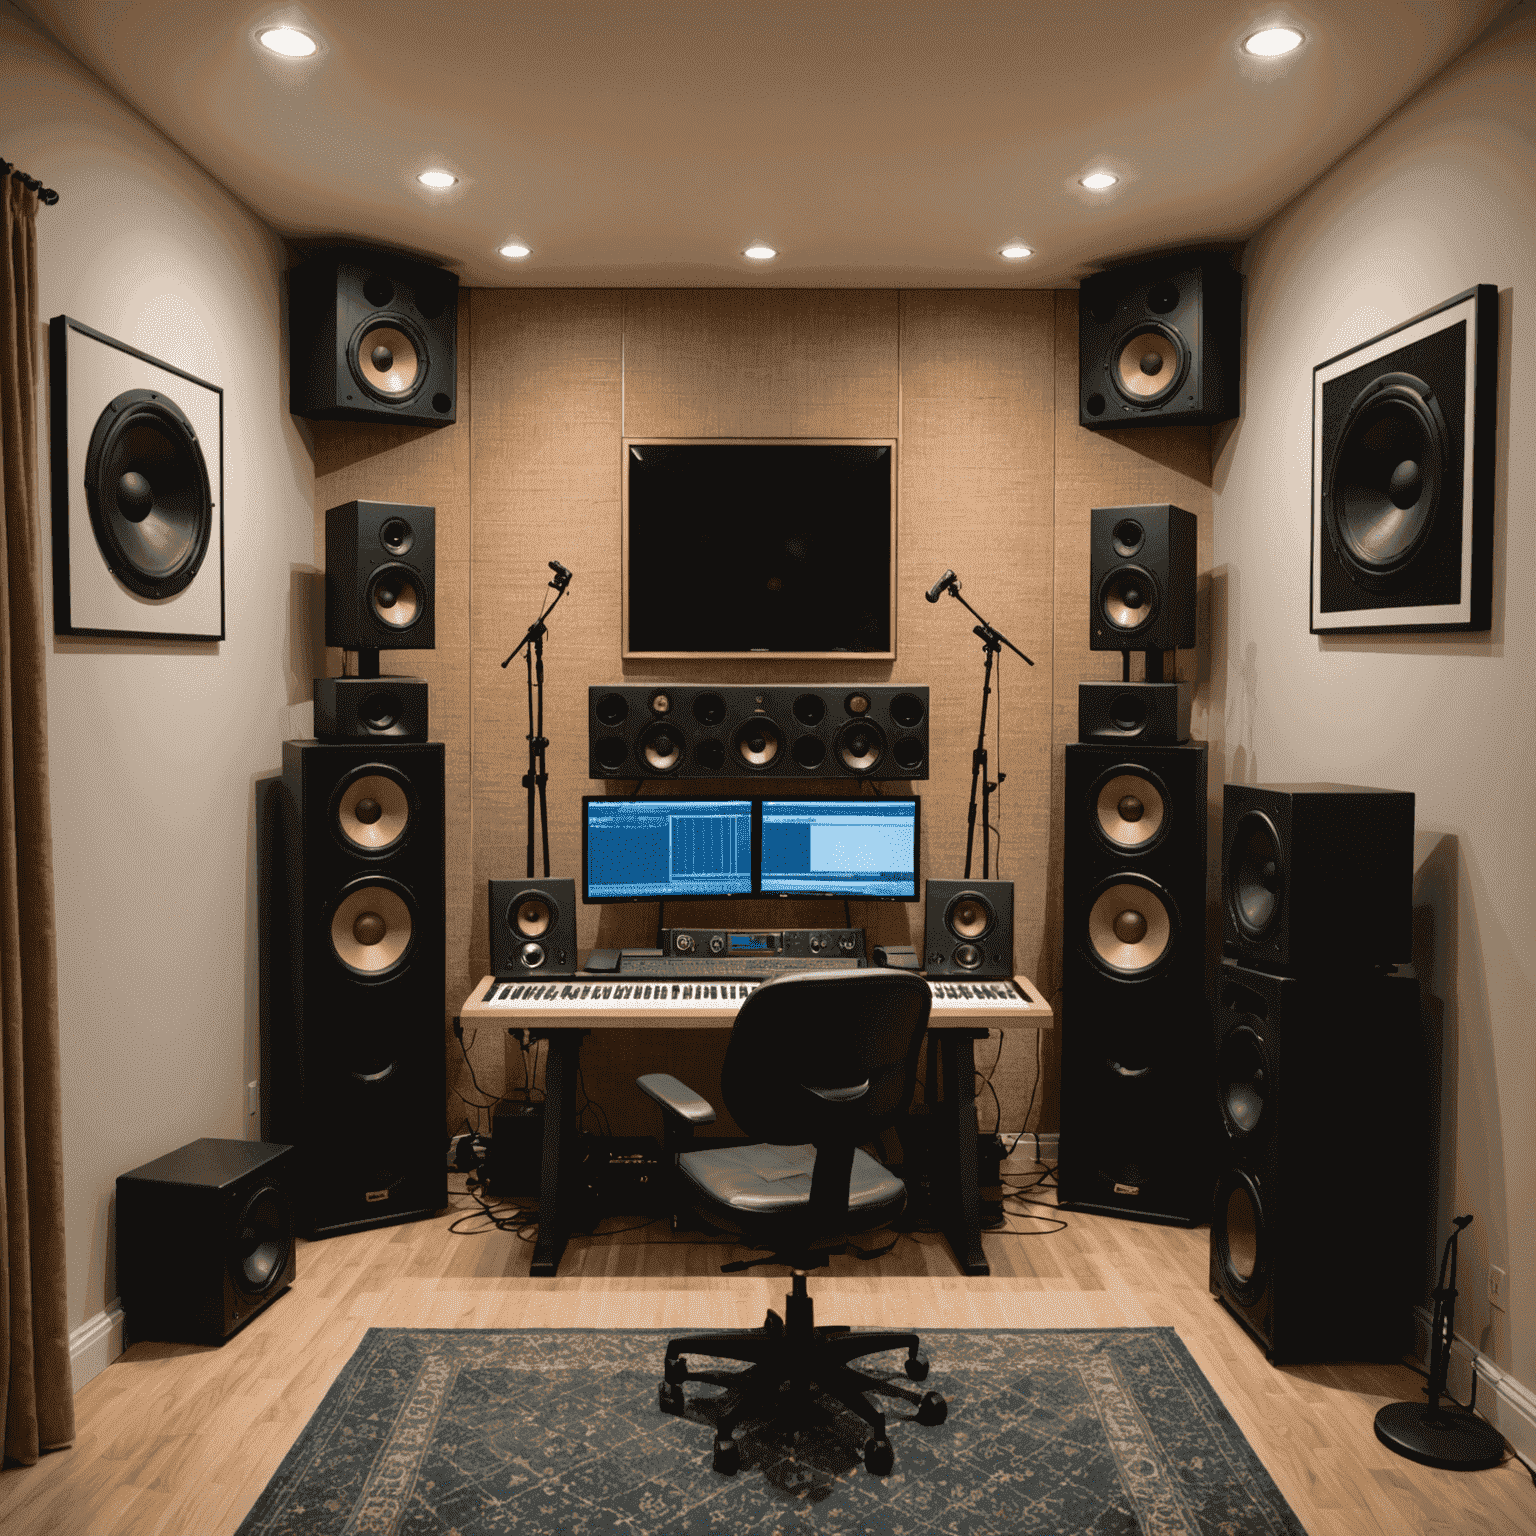
Creating Zones for Workflow Efficiency
Organize your studio into functional zones:
- Recording zone: Treated area for microphones and instruments
- Mixing position: Acoustically treated sweet spot with proper monitor placement
- Production area: MIDI controllers, synthesizers, and other creative tools
- Storage zone: Organized storage for equipment not in constant use
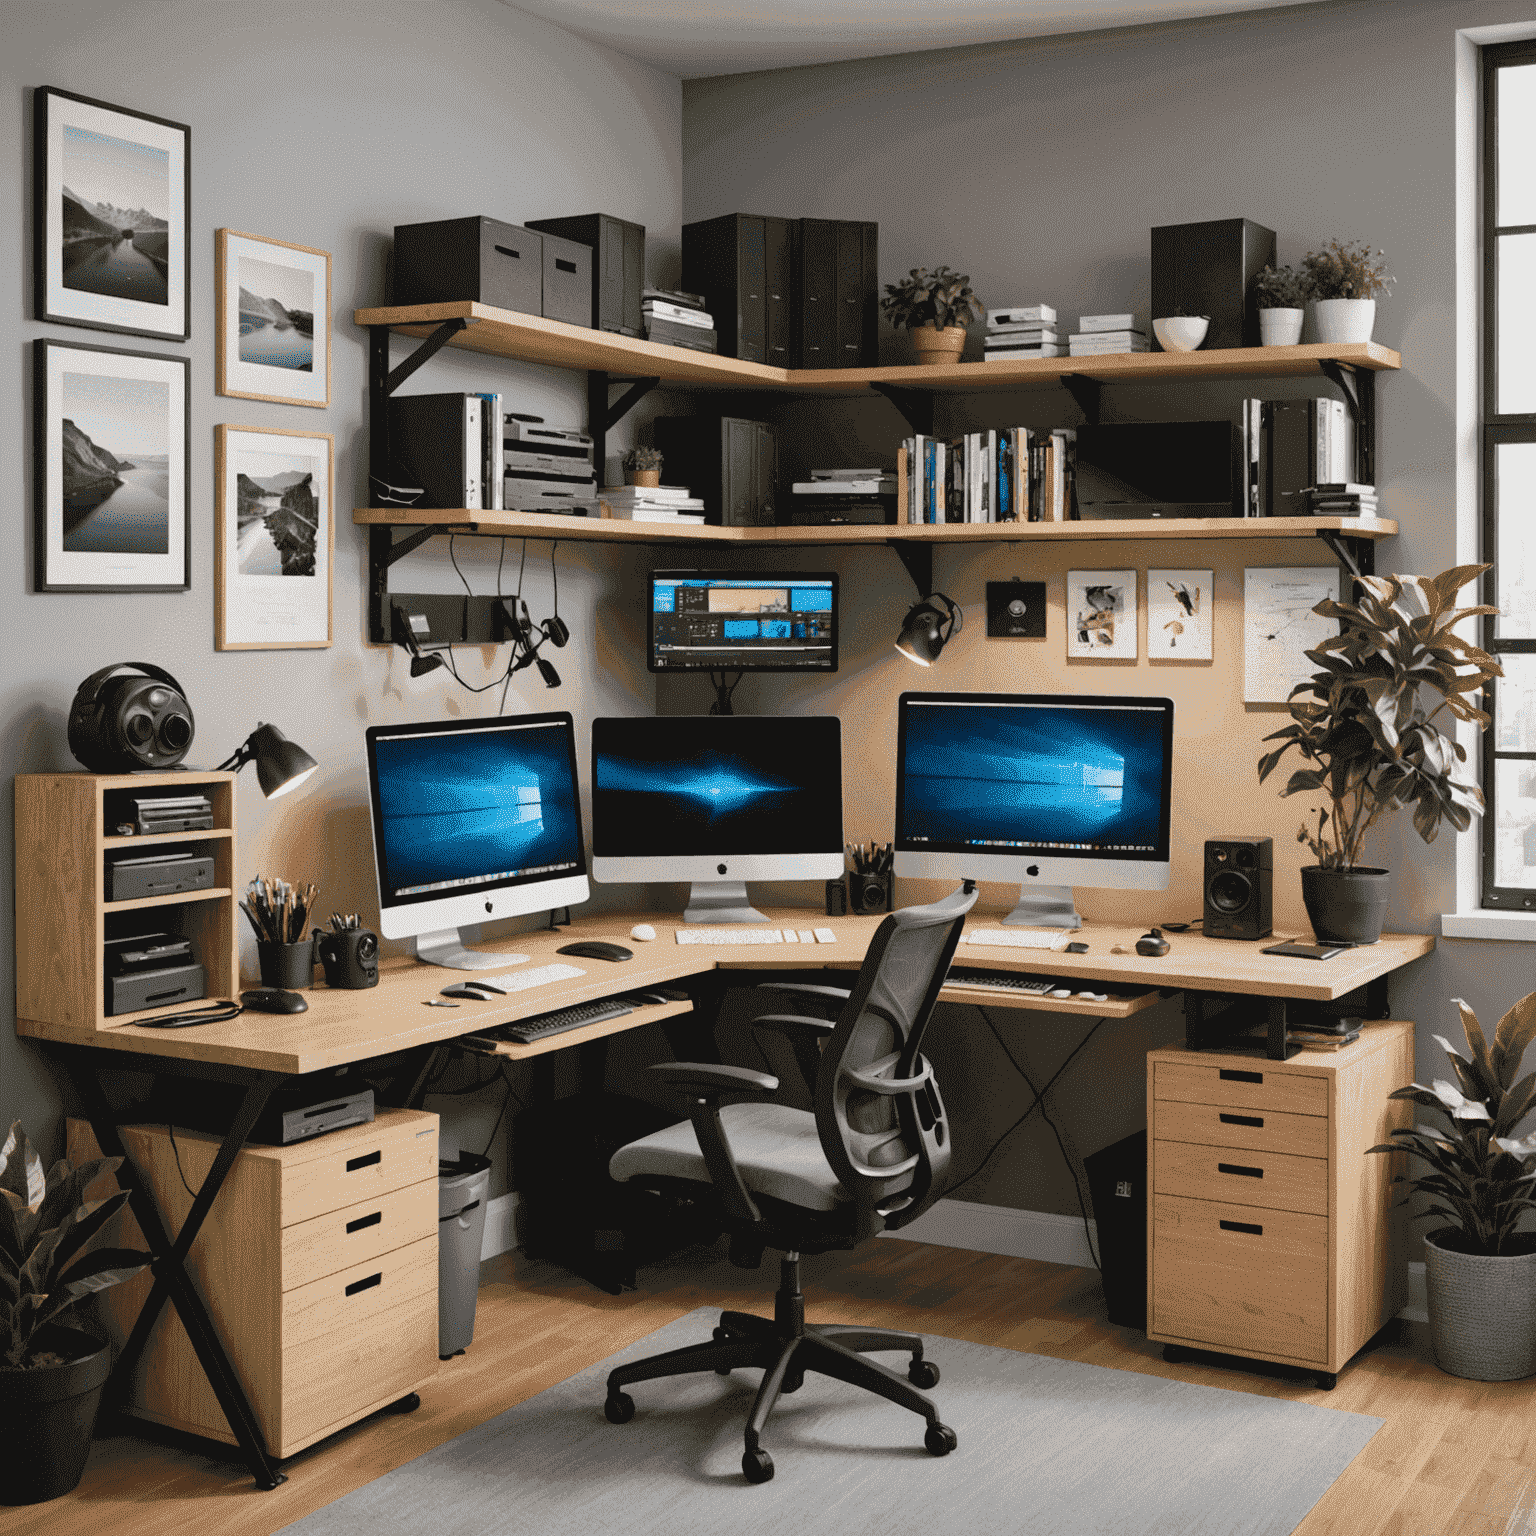
Ergonomics and Comfort
You'll spend hours in your studio—make it comfortable:
- Invest in a quality chair with proper back support
- Position screens at eye level to prevent neck strain
- Consider standing desk options for variety
- Ensure proper lighting to reduce eye fatigue
- Control temperature and ventilation for comfort during long sessions
Budget-Friendly Improvements
If you're working with limited resources, prioritize these improvements:
- Bass traps in corners (most critical acoustic treatment)
- Acoustic panels at first reflection points
- Proper monitor positioning (complimentary!)
- Room layout optimization before purchasing new gear
- DIY acoustic panels using quality materials
Testing Your Room Acoustics
Verify your acoustic treatment effectiveness:
- Use room measurement software like Room EQ Wizard
- Record and analyze test tones and frequency sweeps
- Listen to reference tracks you know well
- Check how your mixes translate to other listening environments
- Consider acoustic measurement microphones for precision
Final Considerations
Remember these additional factors when setting up your space:
- Electrical considerations: dedicated circuits for audio gear to prevent noise
- Soundproofing vs. acoustic treatment: understand the difference and your needs
- Inspiration: include elements that inspire creativity in your space
- Flexibility: design your space to adapt to different recording scenarios
- Future expansion: leave room for growth as you acquire more equipment
Pro Tip: The Spotify Test
Use Spotify's audio quality settings to test your room acoustics. Play reference tracks at different quality levels and note how clearly you can hear the differences. In a well-treated room, the distinctions between 160kbps, 320kbps, and lossless audio should be more apparent than in an untreated space. This can be a practical way to gauge your acoustic treatment effectiveness.
Setting up an effective home recording space is an ongoing process. Start with the fundamentals of room treatment and organization, then refine as you work in the space and understand its characteristics better. Remember that even modest improvements can significantly enhance your recordings and mixes.