Mixing and Mastering Basics for Beginners
Transforming your raw recordings into polished, professional-sounding tracks doesn't require an expensive studio. With the right knowledge and tools, you can achieve impressive results right at home. This guide introduces the fundamental concepts and techniques of mixing and mastering that will elevate your productions.
Understanding the Difference: Mixing vs. Mastering
Before diving into techniques, it's important to understand the distinction between these two crucial processes:
Mixing
The process of balancing, processing, and combining individual tracks into a cohesive arrangement. This includes adjusting levels, panning, EQ, compression, and effects to create a balanced sound.
Mastering
The final polish applied to a mixed track, preparing it for distribution. This includes subtle EQ adjustments, compression, limiting, and ensuring consistent volume and tone across an album.
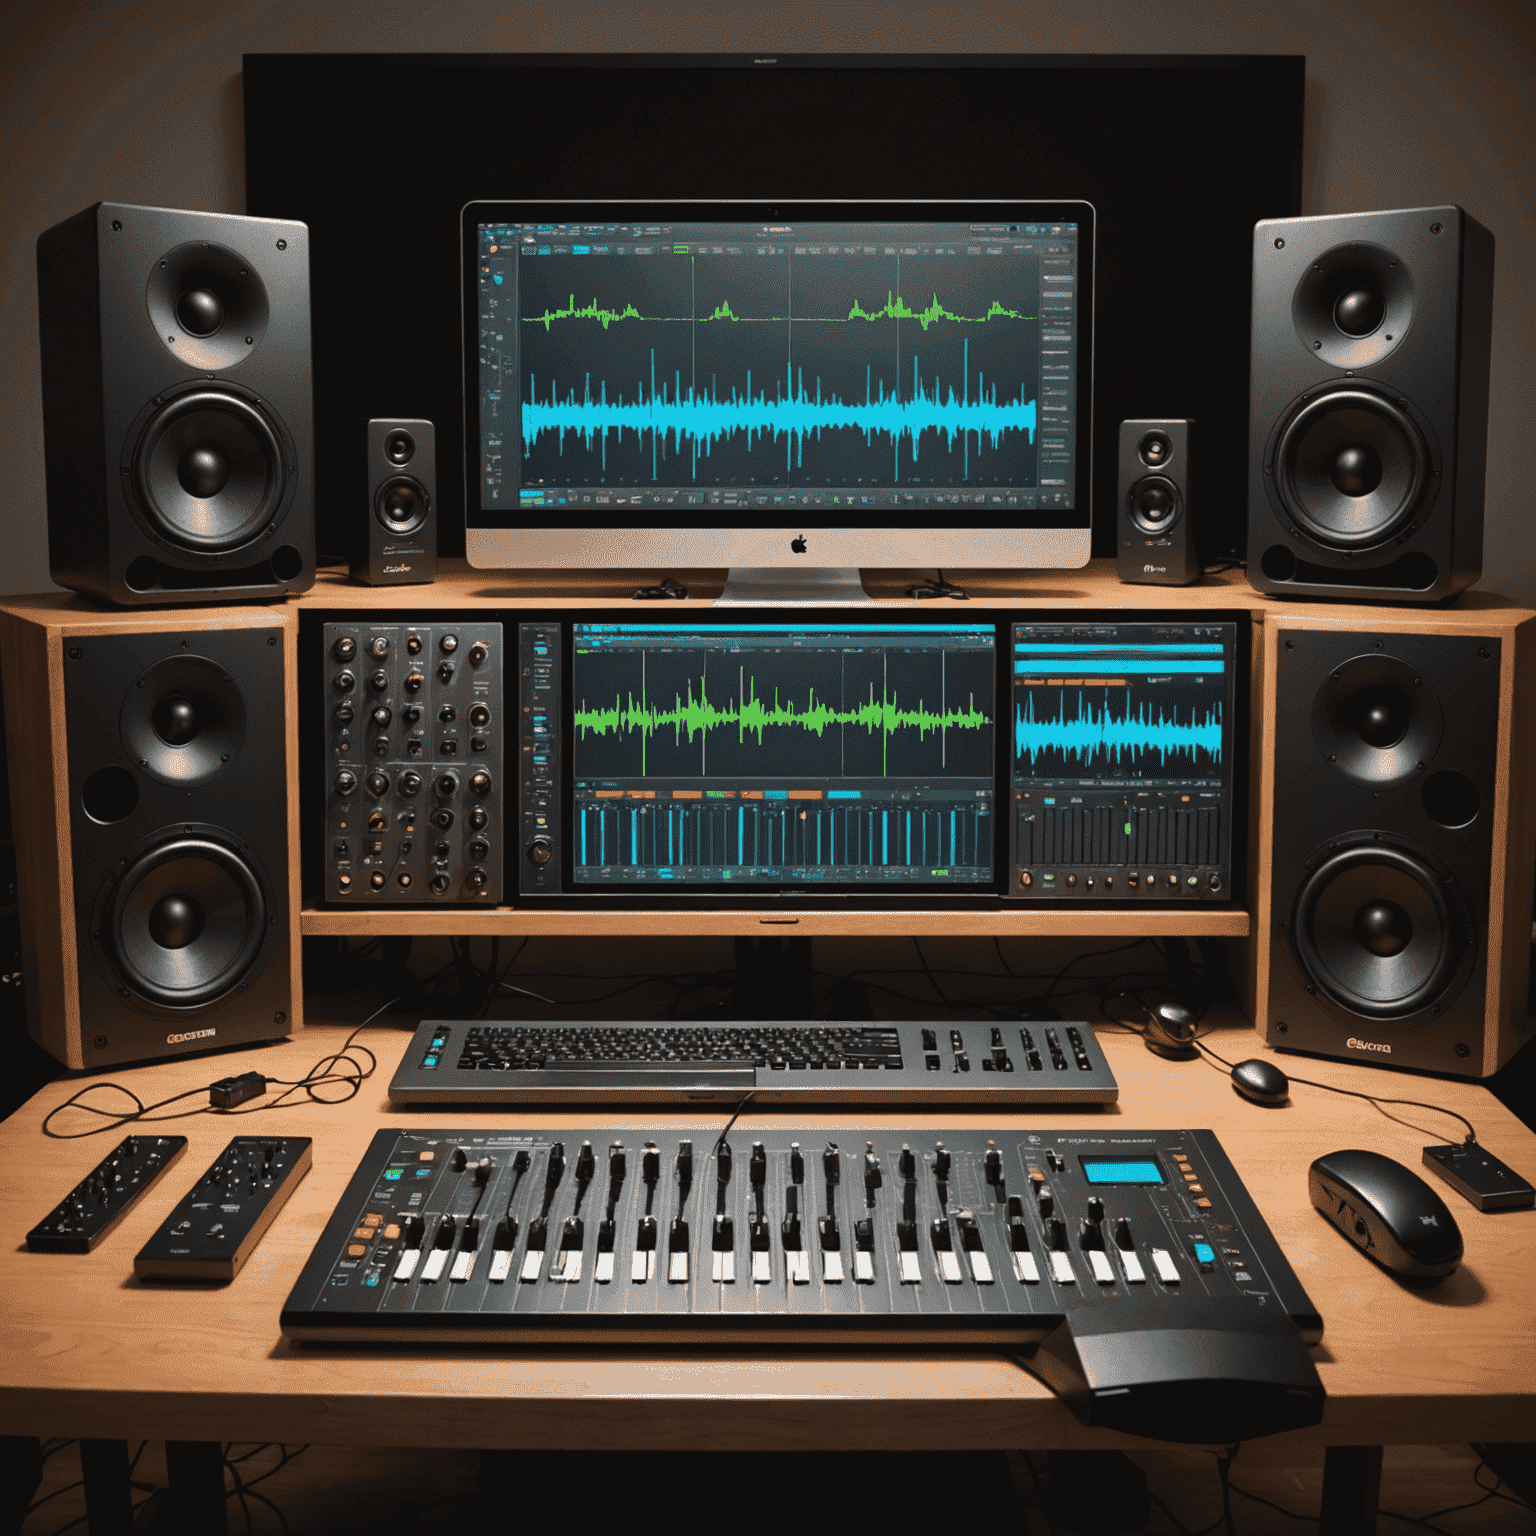
Essential Equipment for Home Mixing and Mastering
You don't need expensive gear to get started, but these basics will significantly improve your results:
Quality Headphones
Invest in a pair of studio-grade headphones with a flat frequency response for accurate monitoring.
Studio Monitors
While not essential for beginners, near-field monitors provide a more accurate representation of your mix.
DAW Software
Digital Audio Workstations like Logic Pro, Ableton Live, or even complimentary options like Reaper or Cakewalk provide the tools you need.
Audio Interface
A decent interface improves audio quality and provides proper inputs and outputs for your studio setup.
Essential Plugins
EQ, compression, reverb, and limiting plugins are the foundation of mixing and mastering.
Reference Tracks
Professional tracks in your genre to compare your mix against and guide your decisions.
Fundamental Mixing Techniques
1. Gain Staging
Before applying any processing, ensure proper gain levels throughout your signal chain to avoid distortion and maintain headroom.
Pro Tip: Aim for peak levels around -18dB to -12dB on individual tracks to leave plenty of headroom for processing.

2. EQ (Equalization)
EQ is perhaps the most important tool in mixing. It allows you to shape the tonal balance of each track and create space in the frequency spectrum.
Subtractive EQ
Focus on cutting problematic frequencies rather than boosting. This helps clean up your mix and creates space for other elements.
Frequency Allocation
Give each instrument its own space in the frequency spectrum to prevent masking and muddiness.
Common EQ Ranges:
- Sub Bass: 20-60Hz
- Bass: 60-250Hz
- Low Mids: 250-500Hz
- Mids: 500Hz-2kHz
- High Mids: 2-4kHz
- Presence: 4-6kHz
- Brilliance: 6-20kHz
3. Compression
Compression controls the dynamic range of your tracks, making quiet parts louder and loud parts quieter for a more consistent sound.
Key Compression Parameters:
- Threshold: Sets the level at which compression begins
- Ratio: Determines how much compression is applied
- Attack: How quickly compression is applied
- Release: How quickly compression stops after signal falls below threshold
- Makeup Gain: Boosts the overall level after compression
4. Panning and Stereo Imaging
Proper placement of elements in the stereo field creates width and depth in your mix.
Panning Guidelines:
- Keep low-frequency elements (kick, bass) centered
- Pan similar instruments away from each other
- Create balance between left and right sides
- Use automation to create movement when appropriate
5. Reverb and Delay
These time-based effects create space and depth in your mix, helping to place elements in a three-dimensional soundstage.
Reverb Tips
- Use sends rather than inserts for efficiency
- EQ your reverb to prevent muddiness
- Different reverbs for different instruments
- Less is often more
Delay Tips
- Sync to tempo when appropriate
- Use ping-pong delays for width
- Filter delays to sit better in the mix
- Automate for special effects
Mastering Basics
Once your mix is balanced and cohesive, mastering adds the final polish. Here's a simple mastering chain to get started:
-
Corrective EQ
Subtle adjustments to fix any remaining frequency issues in the overall mix. Use a linear phase EQ for transparency.
-
Stereo Enhancement
Careful widening of the stereo image without causing phase issues. Be conservative, especially with low frequencies.
-
Multiband Compression
Applying different compression settings to different frequency ranges for more controlled dynamics.
-
Limiting
Bringing up the overall loudness while preventing digital clipping. Watch for distortion and maintain dynamic range.
Loudness Tip: Aim for an integrated LUFS level around -14 to -12 for streaming platforms like Spotify. Pushing too hard will only result in your track being turned down automatically.

Common Mixing and Mastering Mistakes to Avoid
Mixing Too Loud
Mixing at high volumes leads to ear fatigue and poor decisions. Keep your monitoring level moderate and consistent.