Budget-Friendly Sound Processing Solutions
Essential Equipment on a Budget
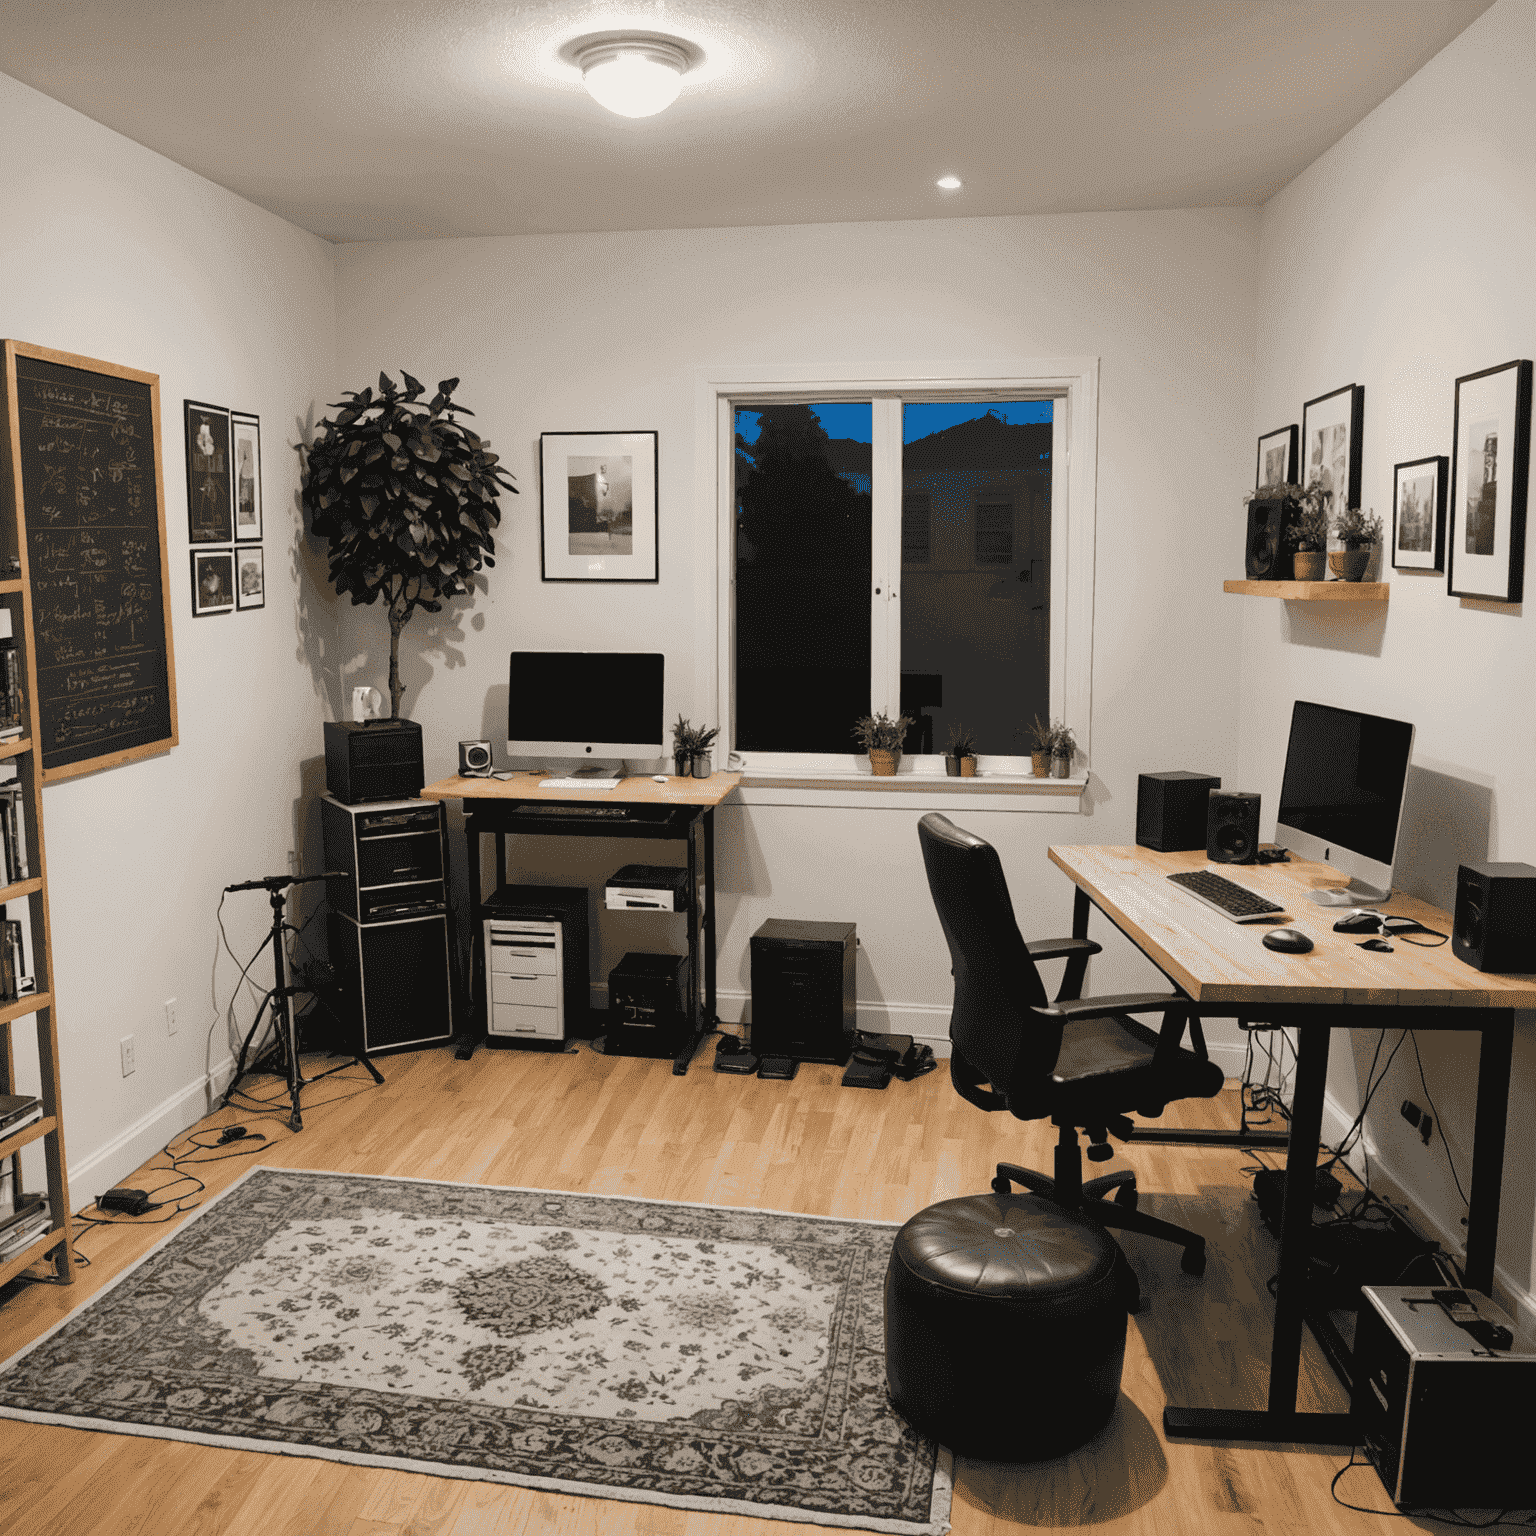
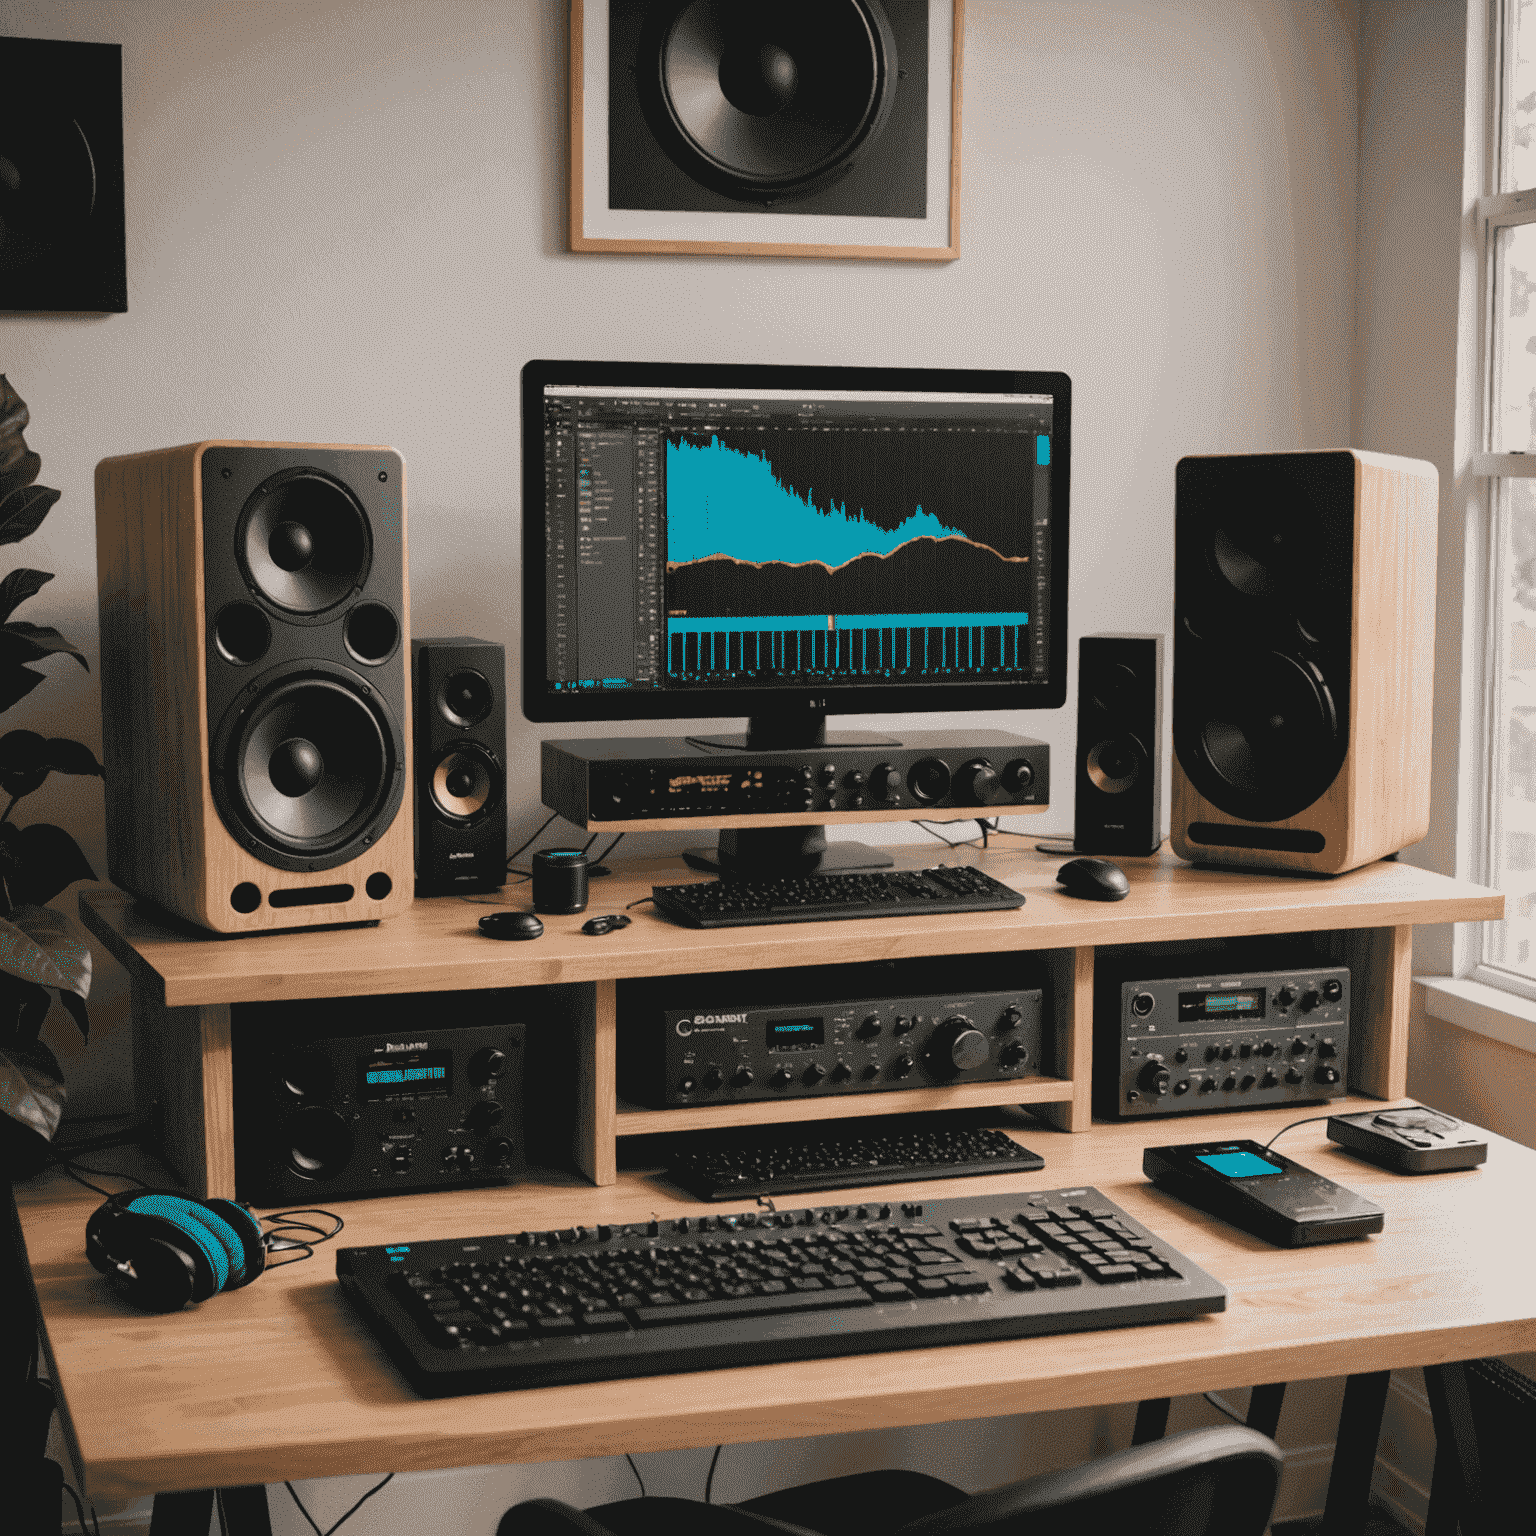
The foundation of any home sound processing setup begins with a few key pieces of equipment. Here's what you need to get started without overspending:
Audio Interface
Entry-level interfaces from brands like Behringer, PreSonus, or Focusrite offer excellent value starting around $100. The Focusrite Scarlett Solo provides professional-quality sound at an accessible price point.
Headphones
Closed-back monitoring headphones like the Audio-Technica ATH-M20x or Sony MDR-7506 deliver reliable sound reproduction without the premium price tag of higher-end models.
Microphone
The Shure SM58 ($99) remains an industry standard for a reason, but even more affordable options like the Behringer XM8500 ($25) can deliver surprisingly good results for vocals and instruments.
Software
Complimentary DAWs like Audacity, Cakewalk by BandLab, or GarageBand (Mac) provide powerful recording and editing capabilities. For streaming and podcast production, OBS Studio offers professional features at no cost.
DIY Acoustic Treatment
Professional acoustic panels can be prohibitively expensive, but you can create effective alternatives with readily available materials:
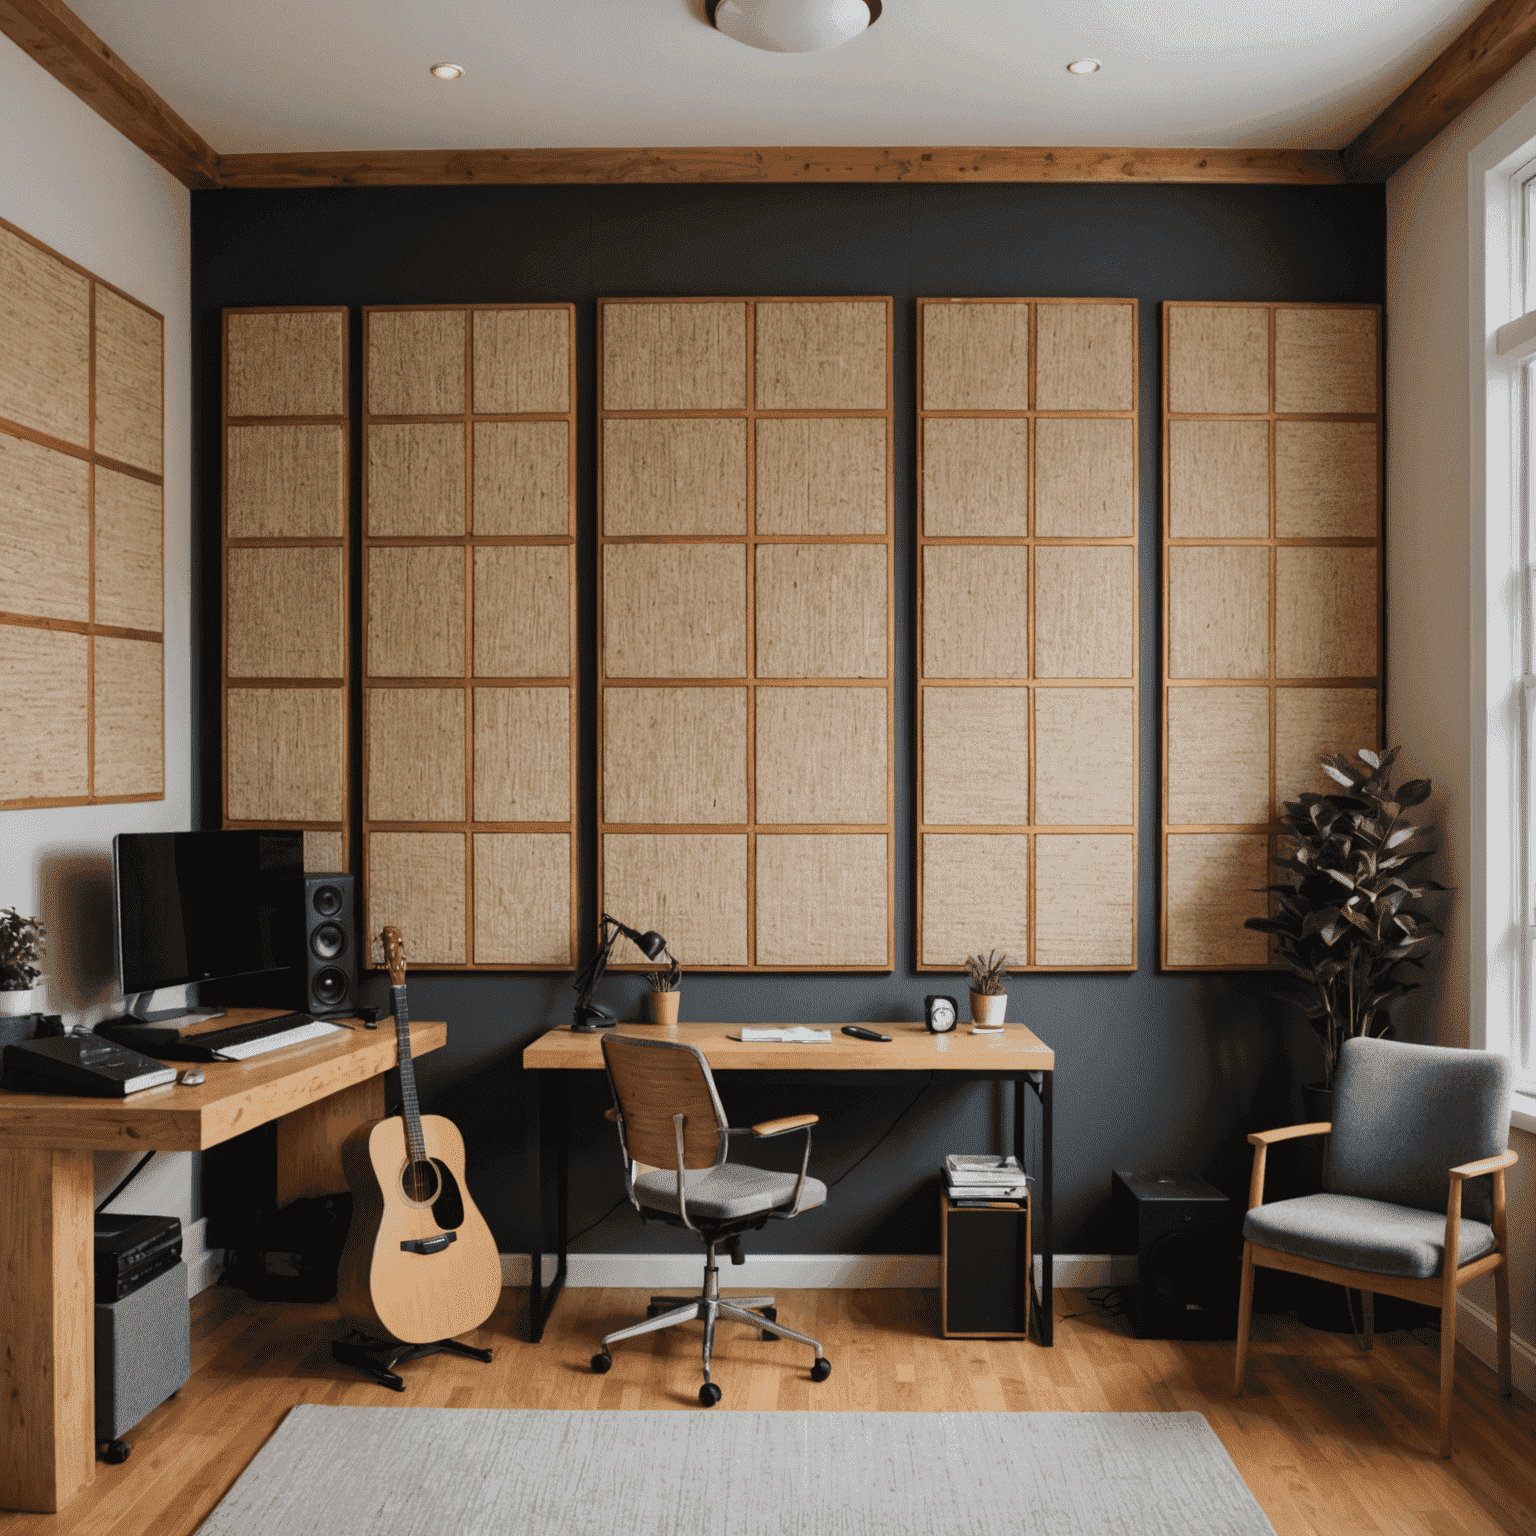
Homemade Acoustic Panels
Create effective sound absorption panels using:
- Wooden frames (1x4 pine boards)
- Rockwool insulation (Roxul Safe'n'Sound)
- Breathable fabric (cotton or polyester)
- Staple gun and basic tools
Total cost per panel: approximately $20-30, compared to $80-100 for commercial options.
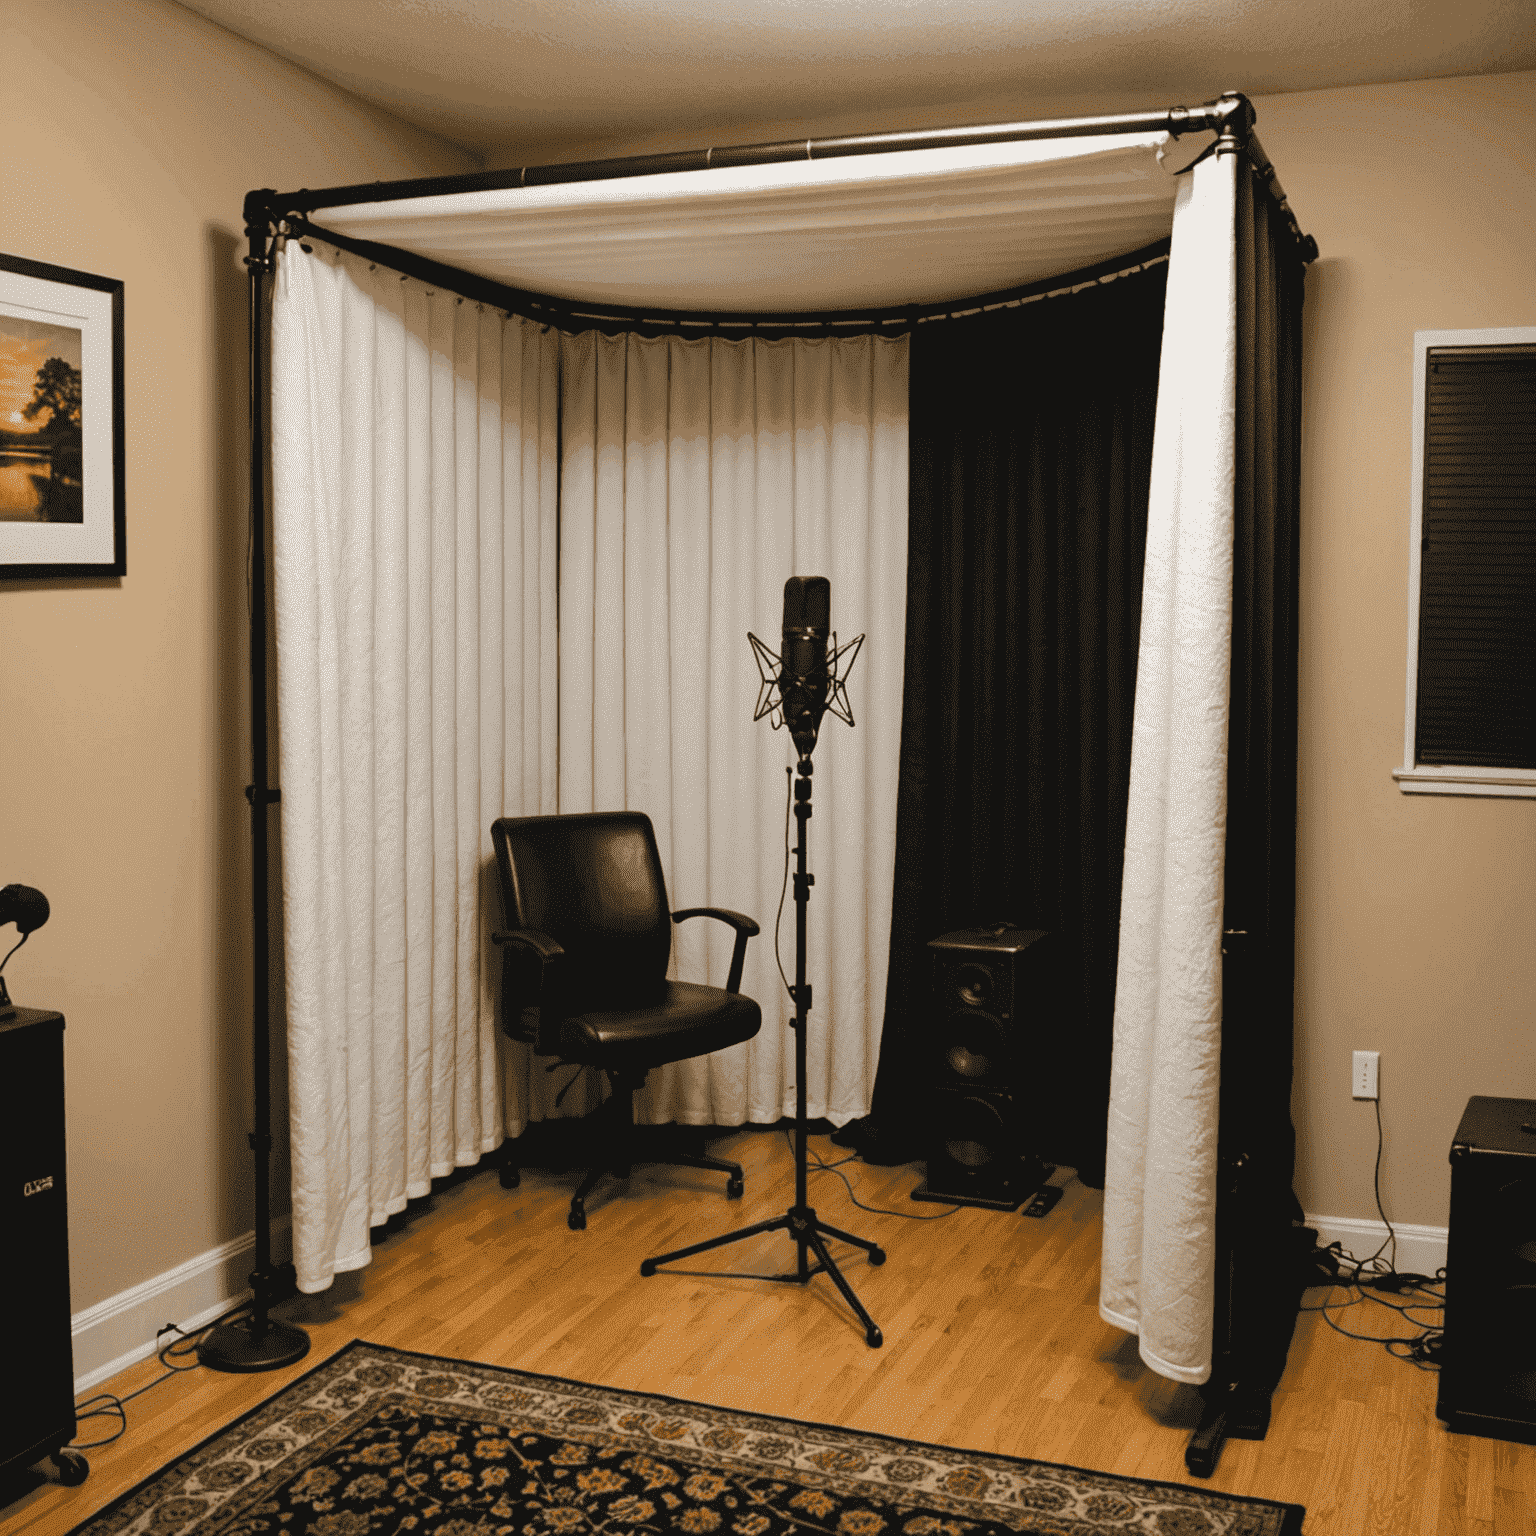
Budget Vocal Booth
Create a functional recording space using:
- PVC pipe frame ($30-40)
- Moving blankets ($50 for 4-6 blankets)
- Clamps or zip ties to secure blankets
- Optional: foam mattress topper for additional absorption
This portable solution costs under $100 and can dramatically improve vocal recordings.
Maximizing Complimentary and Low-Cost Resources
Complimentary Plugins
Expand your sound processing capabilities with complimentary VST plugins. TDR Nova (EQ), OrilRiver (reverb), and Melda's complimentary bundle offer professional-quality processing without the cost.
Streaming Services
Use Spotify and other streaming platforms as reference tools. Create playlists of professionally mixed tracks in your genre to compare your mixes against industry standards.
Online Learning
YouTube tutorials, complimentary courses, and audio forums provide valuable knowledge that can improve your results more than expensive gear. Focus on learning techniques rather than acquiring equipment.
Creative Workarounds for Common Challenges
| Challenge | Budget Solution |
|---|---|
| No studio monitors | Use multiple reference systems: headphones, car stereo, computer speakers, and earbuds to check your mix on different playback systems. |
| Room echo/reverb | Record in closets with hanging clothes for natural sound absorption, or create a "blanket fort" around your microphone. |
| Limited microphones | Use the Recorderman technique for drum recording with just two mics, or record instruments separately to maximize a single quality microphone. |
| Computer performance issues | Renderze or bounce tracks to reduce CPU load, and optimize your computer by closing unnecessary applications and background processes. |
Gradual Upgrade Path
As your skills develop and budget allows, follow this strategic upgrade path to maximize impact:
- Acoustic treatment - Improving your room acoustics yields better results than upgrading gear in a poor environment
- Monitoring solution - Quality headphones first, then entry-level studio monitors when possible
- Audio interface - Upgrade to models with better preamps and converters
- Microphones - Add specialized mics for different applications rather than replacing existing ones
- Software and plugins - Invest in tools that address specific weaknesses in your production chain
Final Thoughts
Remember that legendary recordings have been created with minimal equipment. Focus on developing your ears and technical skills rather than accumulating gear. A thoughtfully assembled budget setup in the hands of a skilled operator will consistently outperform expensive equipment used without proper technique and understanding.